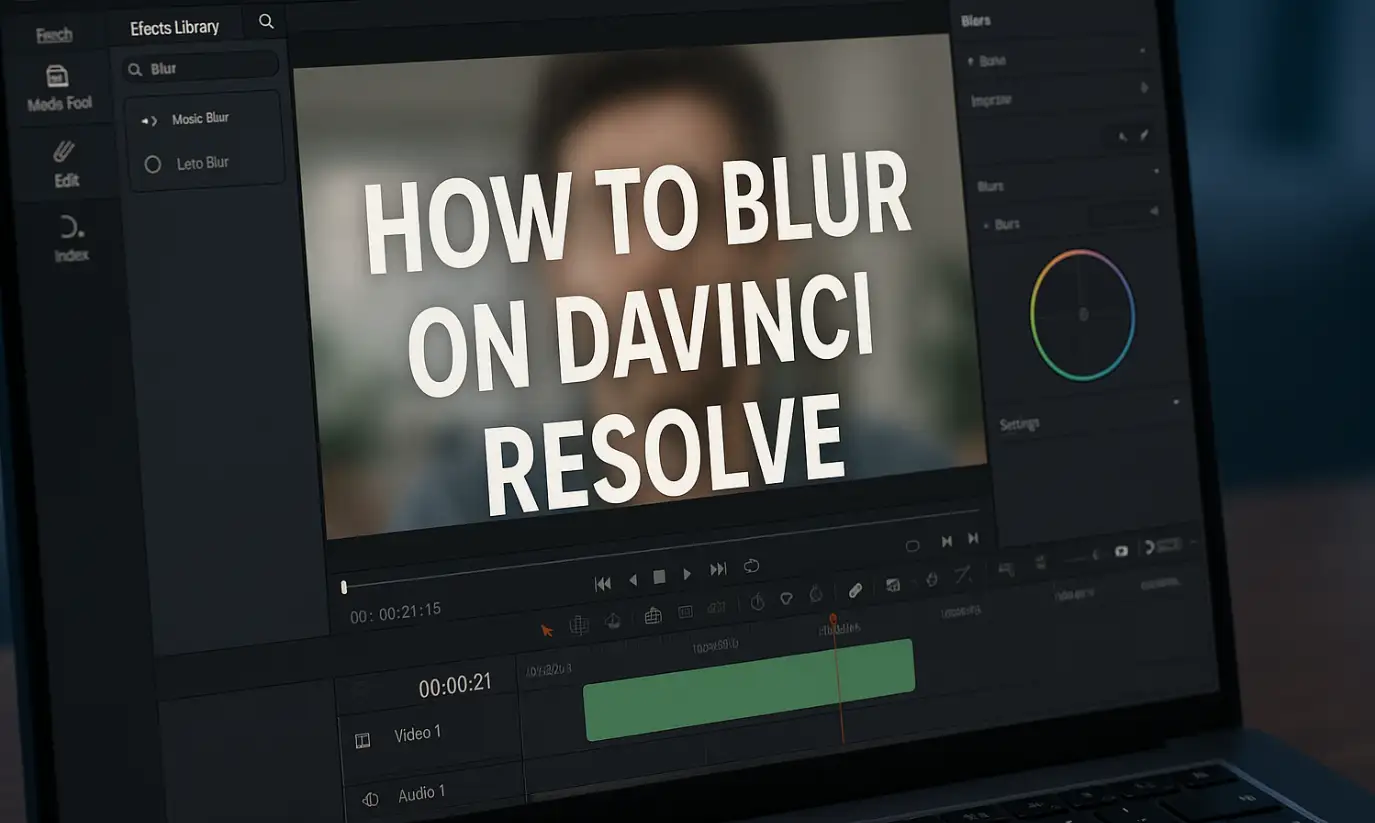
When editing videos in Adobe Premiere Pro, you may need to hide sensitive information, censor logos, or create a creative focus effect. Whether you’re blurring a face, background, or specific object, knowing how to blur in Premiere Pro can elevate your video editing skills.
In this guide, you’ll learn:
- How to add and customize blur effects in Premiere Pro
- Face tracking in Premiere Pro for moving subjects
- How to blur an area, logo, or image in your video
- The difference between Gaussian Blur and Channel Blur
- A quick, online alternative using BlurMe for faster results
1. How to Add Blur in Premiere Pro
The easiest way to start blurring is with the Gaussian Blur or Channel Blur effects.
Steps: How to Blur a Video in Premiere Pro
- Import your video into Premiere Pro and drag it to the timeline.
- Go to the Effects panel.
- Search for Gaussian Blur (or Channel Blur for color channel control).
- Drag the effect onto your video clip.
- Go to the Effect Controls panel and increase the Blurriness value.
- Check Repeat Edge Pixels to avoid dark edges.
💡 Pro Tip: Use Gaussian Blur for a natural, soft blur. Use Channel Blur when you want to blur only red, green, or blue channels for artistic effects.
2. Auto Blur in Premiere Pro vs. BlurMe Alternative
Premiere Pro doesn’t have a true auto blur feature for detecting multiple faces automatically. If you want a faster, automatic option, BlurMe offers:
- Auto Blur Photo – Detects and blurs multiple faces instantly.
- Video Pixelator – Creates a strong block-style blur.
- Redaction Software – Perfect for hiding sensitive information.
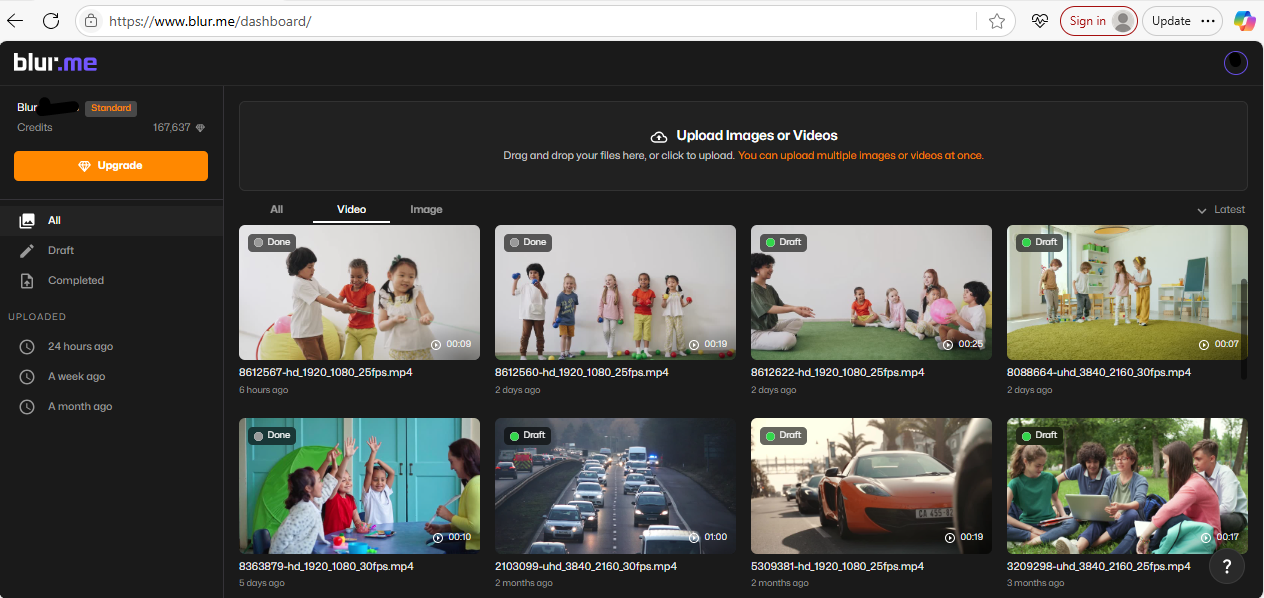
How to Blur Videos and Images Easily with BlurMe
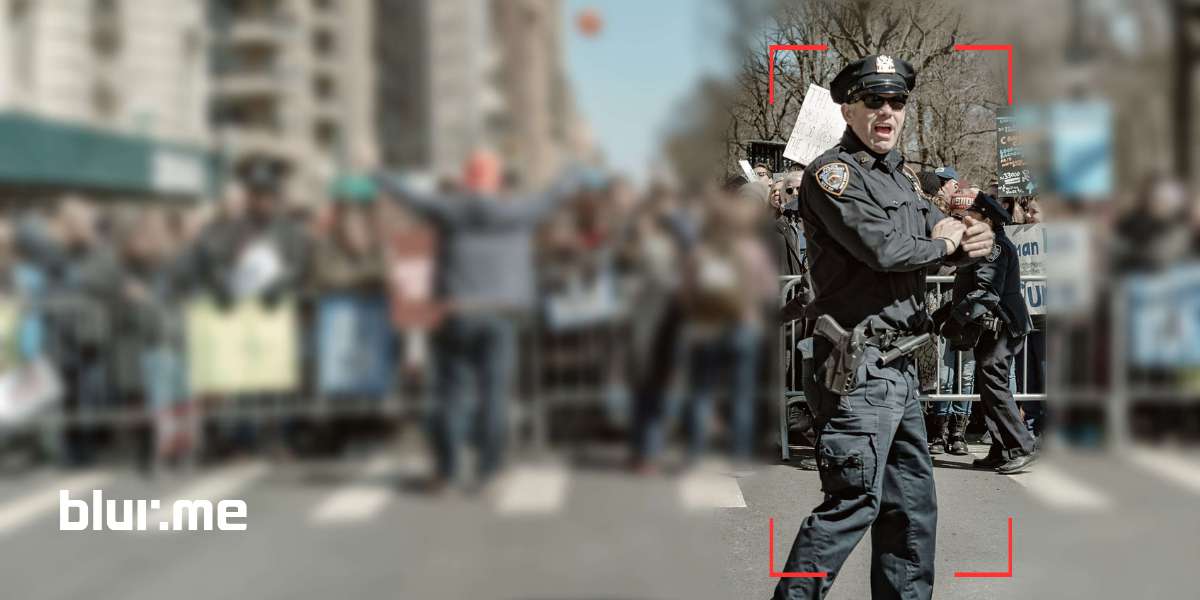
If your goal is to quickly blur faces, logos, or any sensitive areas, BlurMe Blur Face offers a simple, browser-based solution. It’s perfect for creators who want fast results.
Step-by-Step: Blur Faces or Areas in Videos
- Open BlurMe Studio in your browser — no installation needed.
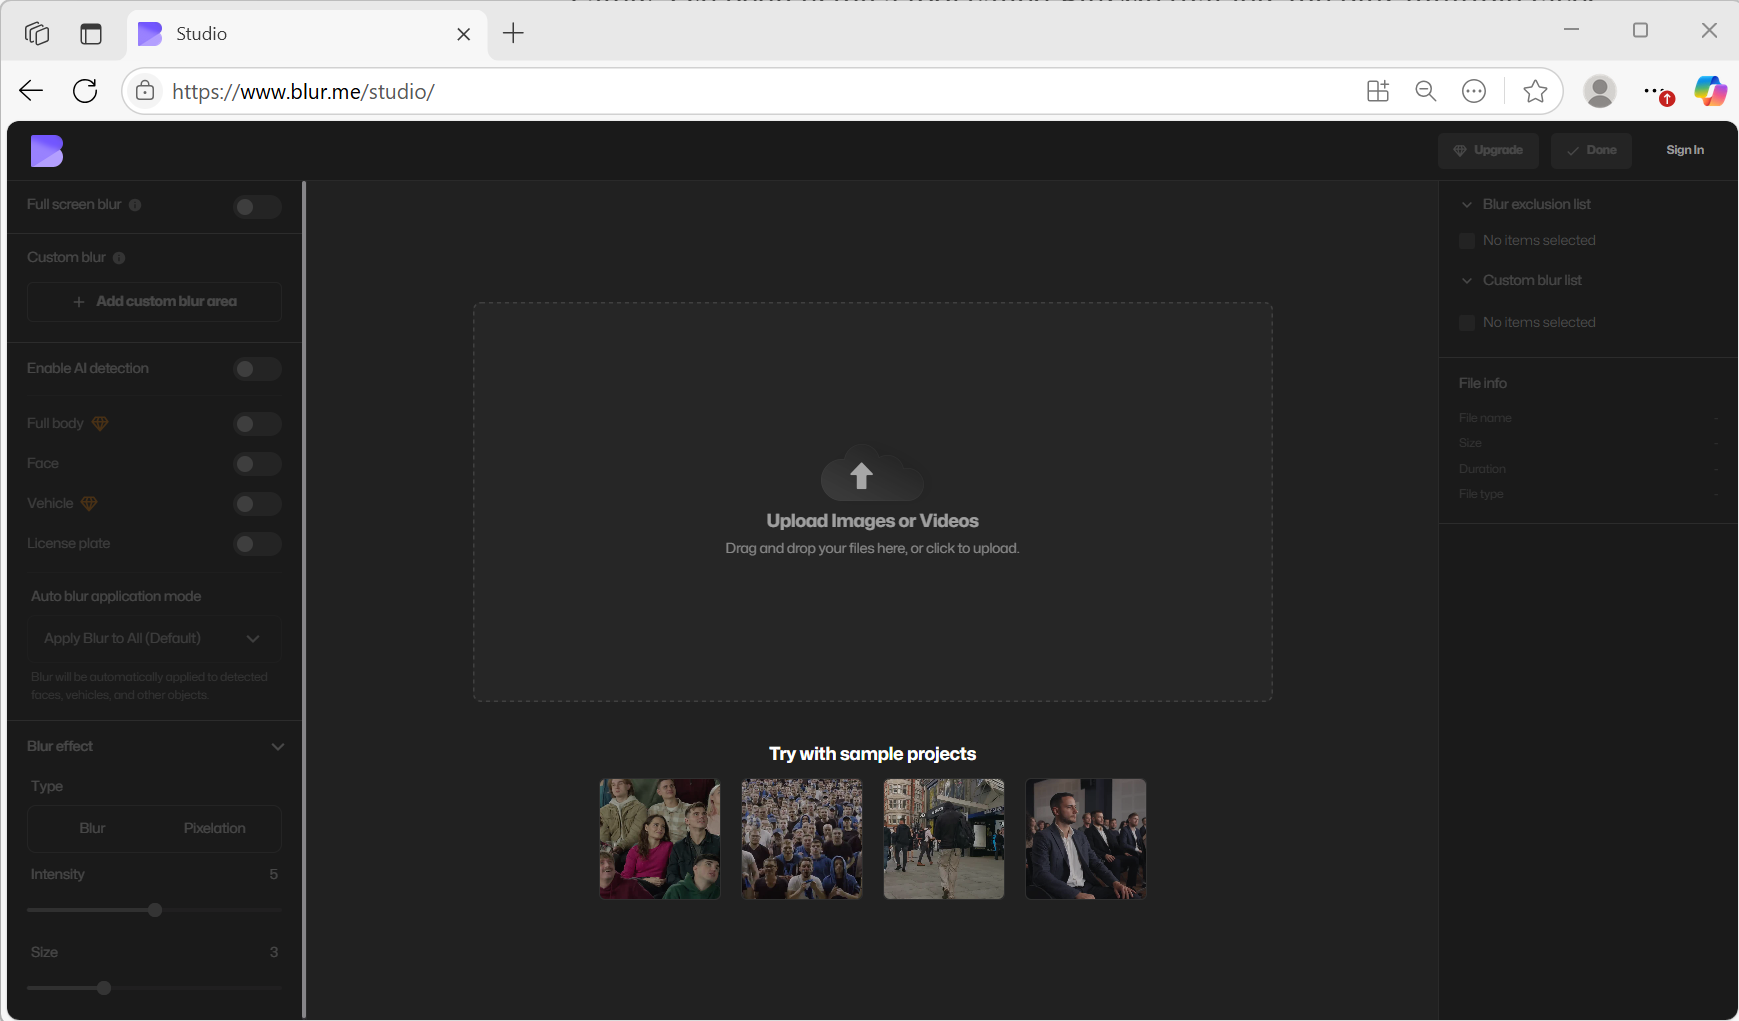
- Upload your video file.
- Choose Enable AI to detect faces, license plates, cars and bodies automatically or Custom Blur to select specific areas.
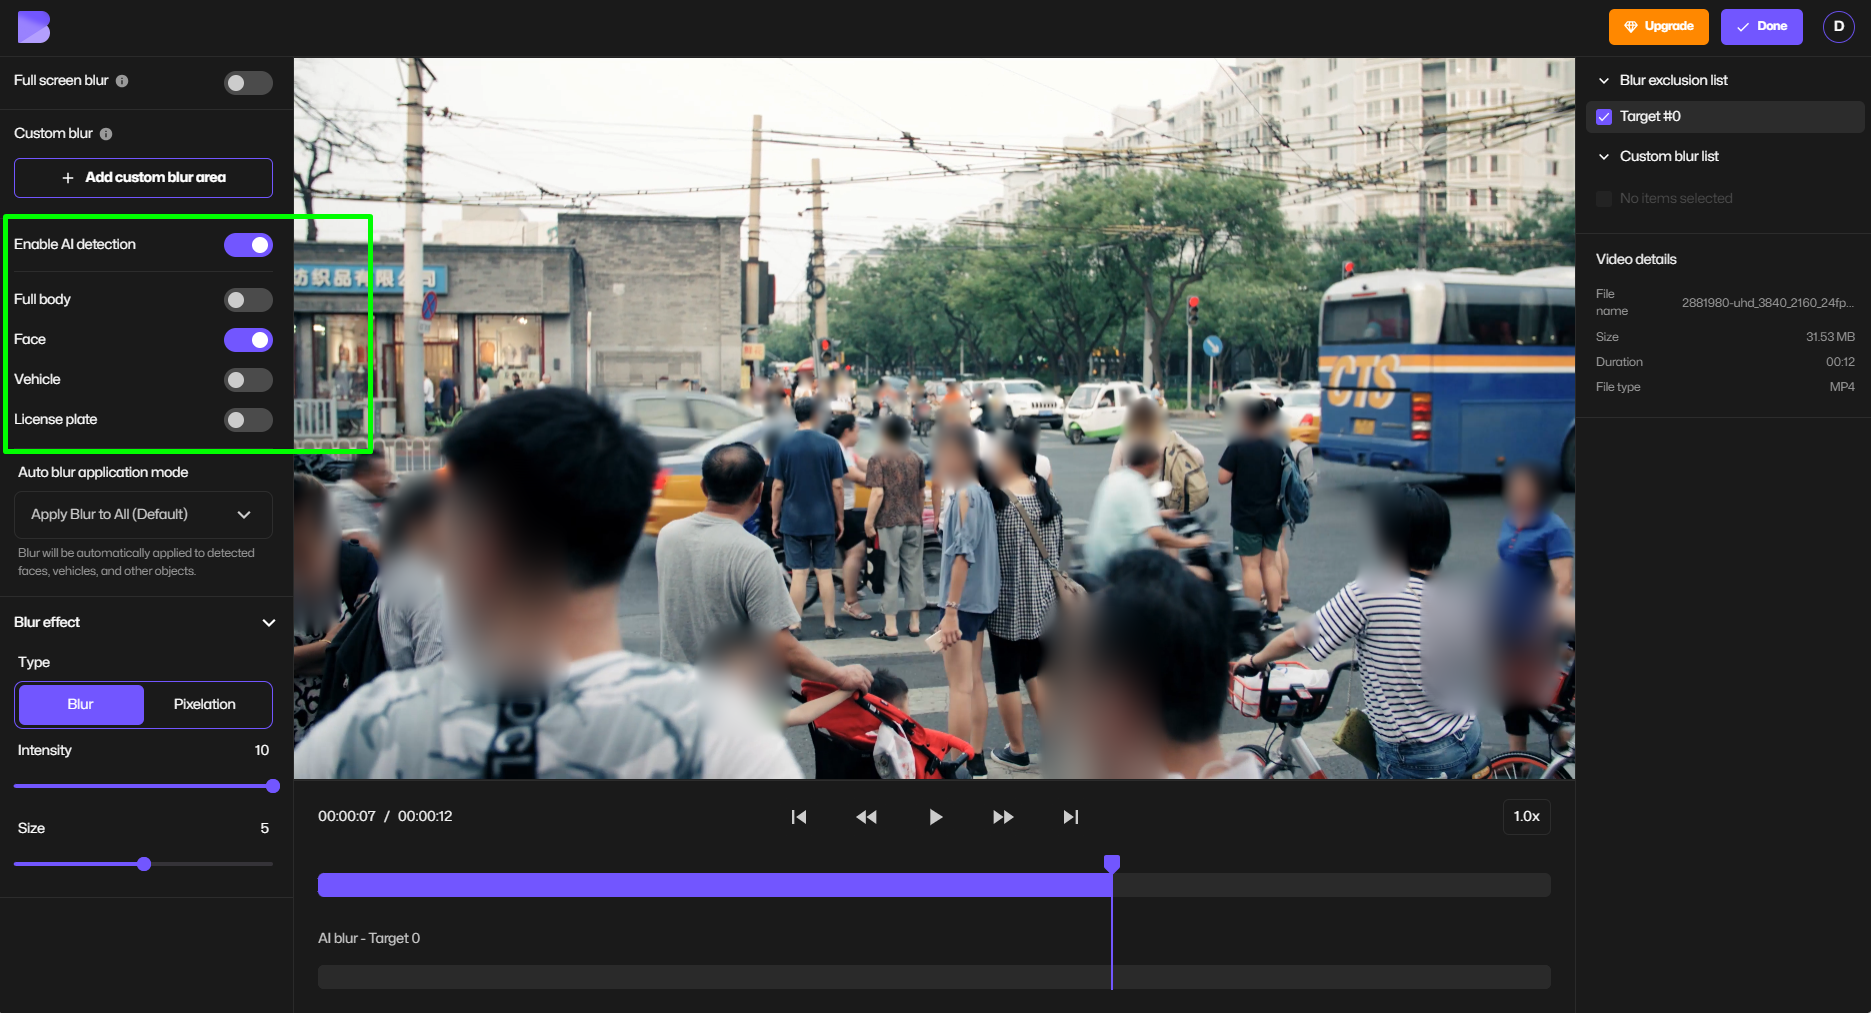
- Adjust the blur type(Blur or Pixelate), size and strength.
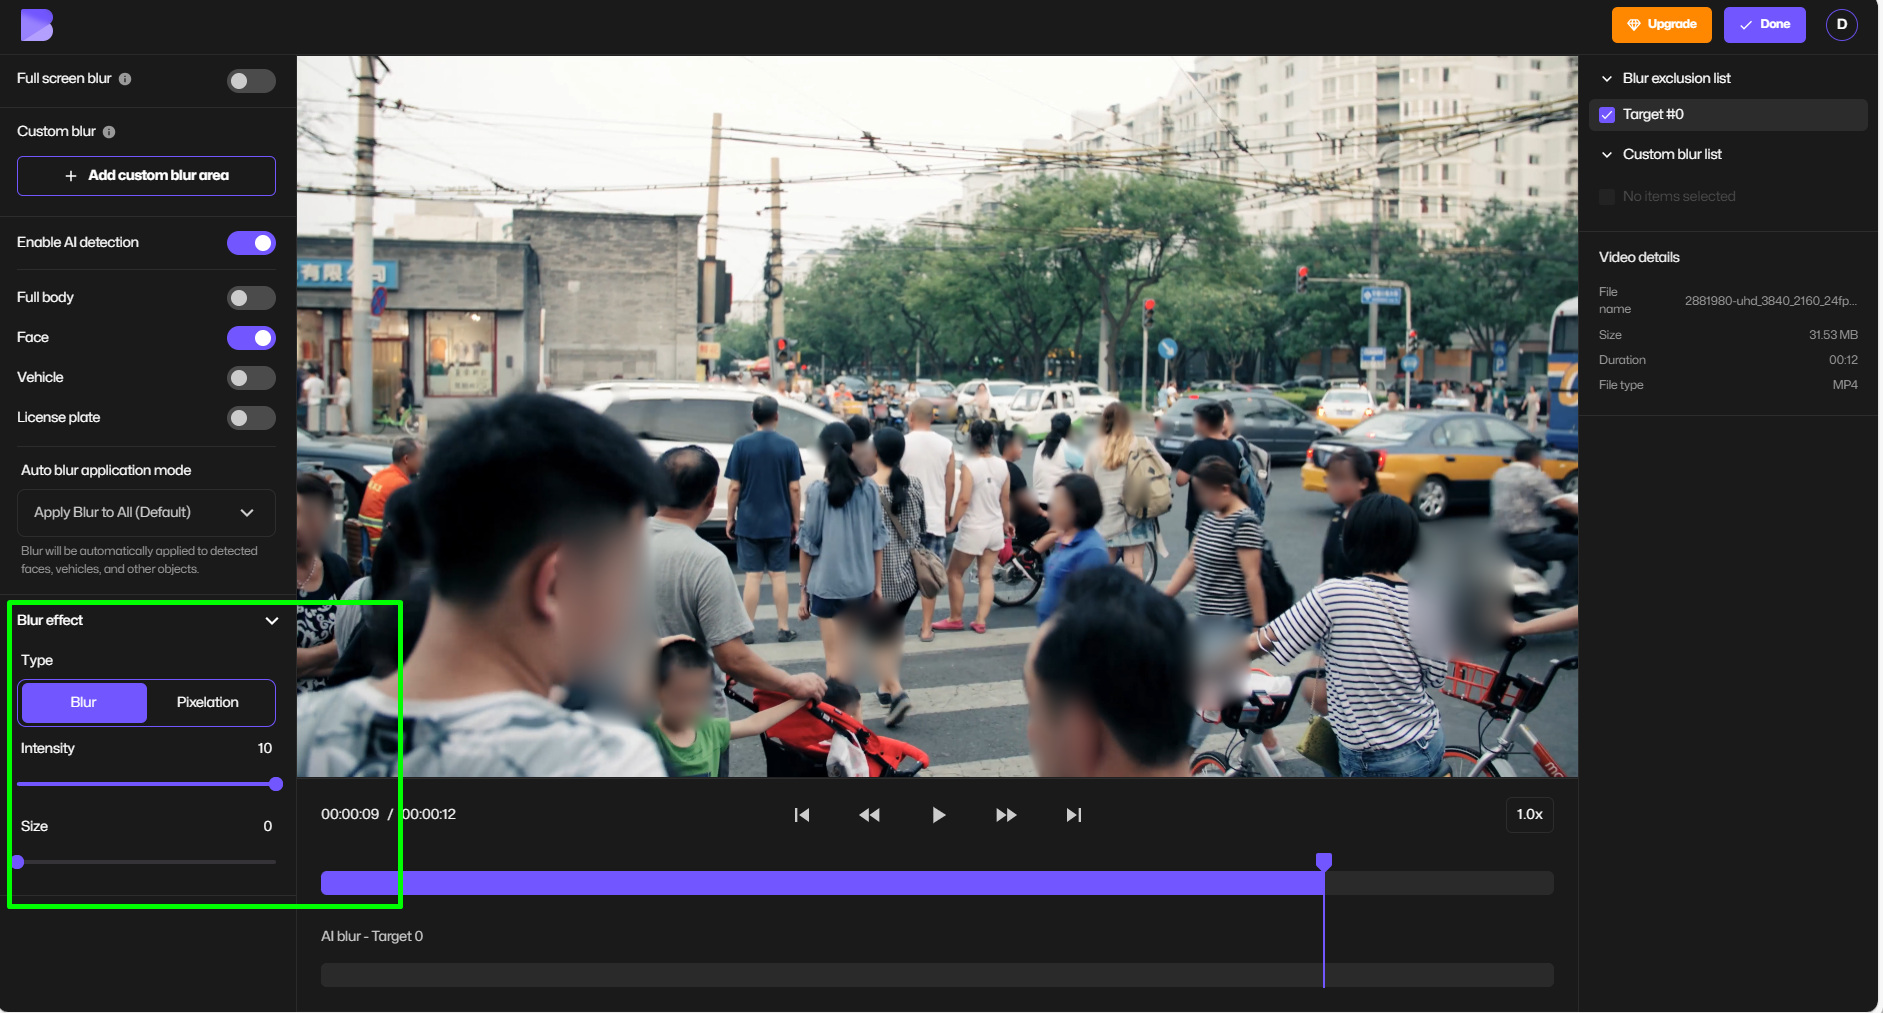
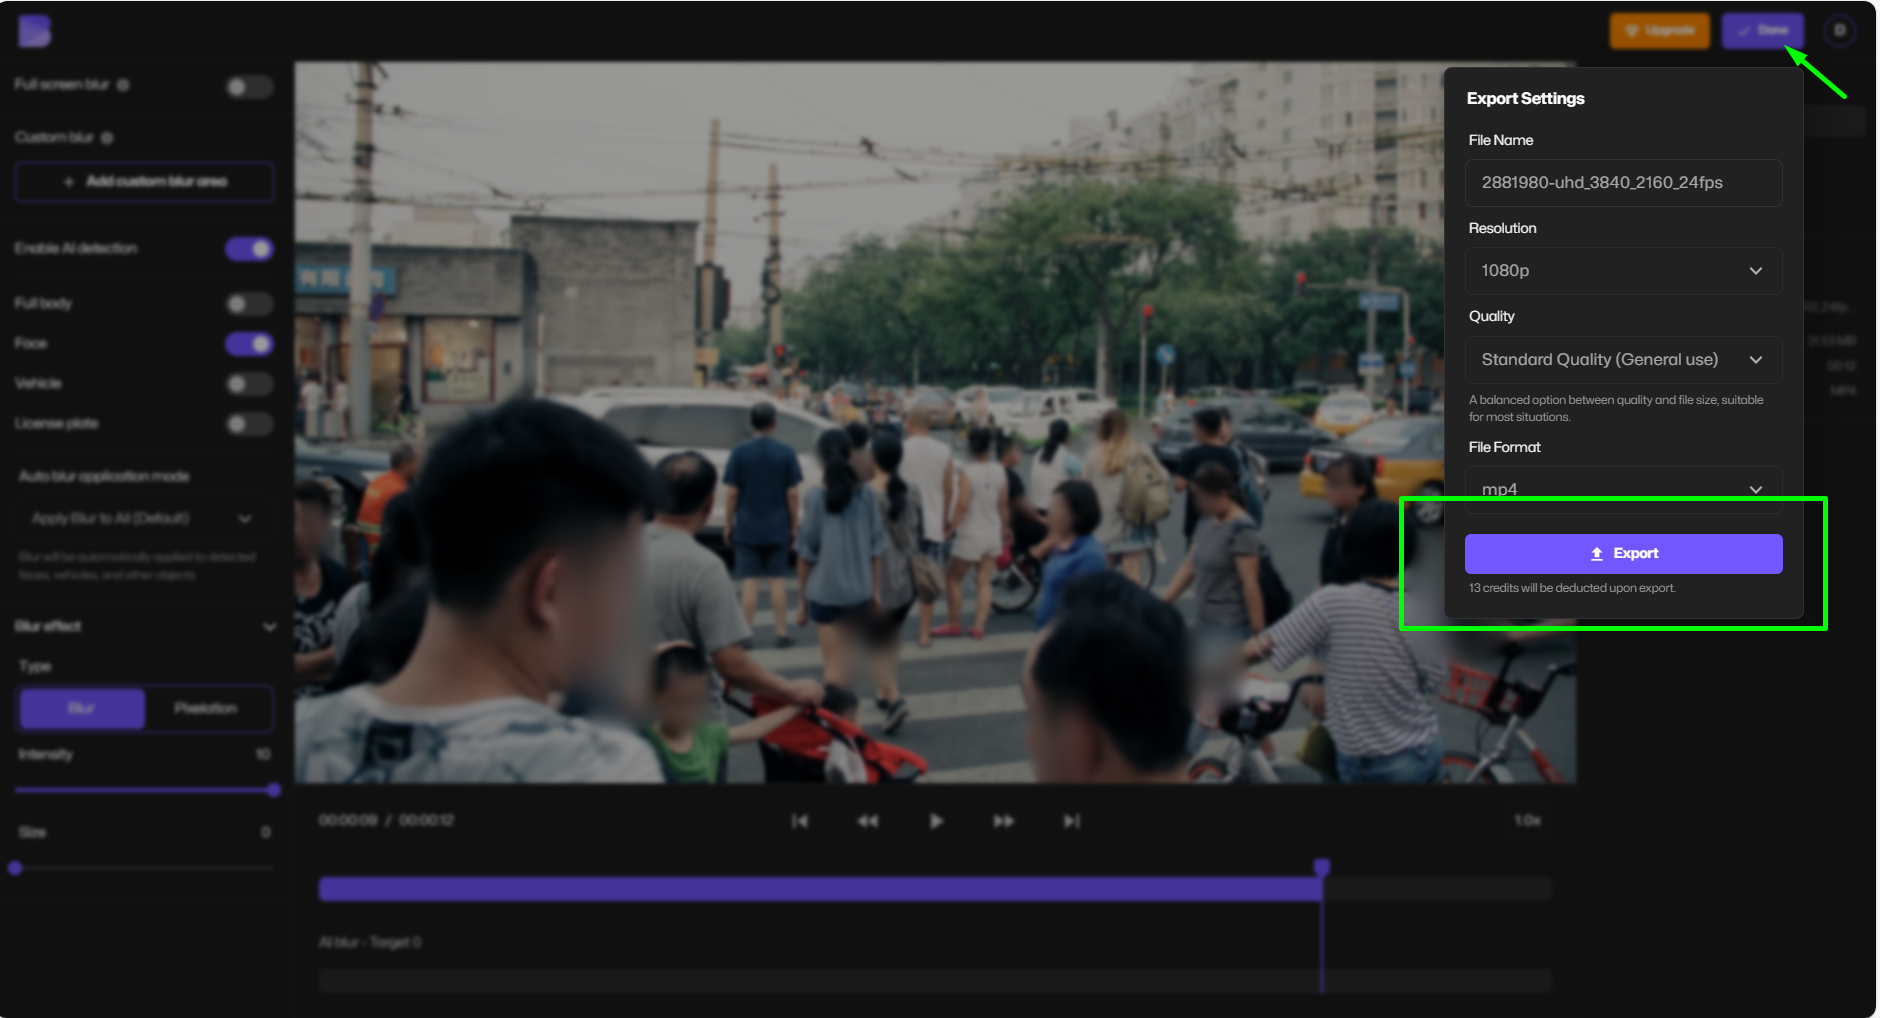
- Preview and download your blurred video instantly.
Step-by-Step: Blur Faces or Parts of Photos
- Upload your image to BlurMe auto blur photo editor.
- Use Face Detection or draw a custom blur area.
- Pick your blur style and intensity.
- Download the edited image in seconds.
💡 Why start with BlurMe?
- No software installation or technical skills required.
- Blurs multiple moving faces or objects automatically.
- Supports both soft Gaussian Blur and strong pixelation for privacy.
- Fastest way to achieve professional-looking blur effects online.
- Face tracking software for content creators.
While BlurMe is ideal for quick results, Adobe Premiere Pro provides advanced options like masks, Gaussian Blur and Channel Blur.
3. How to Blur an Area in Premiere Pro with Masks
To blur a specific part of your video (like a face or license plate), you’ll need to use masks.
Steps: Premiere Pro Mask Blur
- Apply Gaussian Blur to your video.
- In Effect Controls, click Ellipse Mask or Rectangle Mask (or use the Pen Tool for custom shapes).
- Position and resize the mask over the area you want to blur.
- Adjust Mask Feather for smooth edges.
- Increase Blurriness to your desired level.
4. How to Track in Premiere Pro (Face & Object Tracking)
When your subject moves, you’ll need Premiere Pro mask tracking to follow it automatically.
Steps: How to Follow an Object in Premiere Pro
- Create a mask as above.
- In Effect Controls, click the Track Selected Mask Forward button.
- Premiere will track the movement and adjust the mask position frame-by-frame.
- Manually fix any tracking errors if needed.
💡 Pro Tip: Face tracking in Premiere Pro works best when the face is clear and not obstructed. For complex movement, you might need to keyframe manually.
5. How to Blur a Logo in Premiere Pro
If you need to hide a logo:
- Apply Gaussian Blur to the clip.
- Use a Rectangle Mask to cover the logo.
- Track the mask if the logo moves.
- Adjust feather and blurriness until it’s fully hidden.
For strong censorship, consider Pixelate Video techniques for a blocky blur.
6. How to Blur an Image in Premiere Pro
Blurring still images works exactly like videos:
- Import the image into Premiere Pro.
- Apply Gaussian Blur or Channel Blur.
- Adjust Blurriness to the desired strength.
This is useful for Pixelate Image effects or softening backgrounds.
7. Premiere Pro Blur Techniques & Best Practices
- Always feather your masks to blend the blur naturally.
- Use Channel Blur for creative stylized blurs.
- For redaction, use a high blurriness or pixelation so information is unreadable.
- When tracking fails, switch to manual keyframing for precision.
8. Bonus: Optimize Your Media Before Uploading
Blurring is often just one step in the editing process. If you’re preparing videos or images for upload to platforms like YouTube, Instagram, or your website, optimizing your files can save time and ensure the best quality.
Quick Image Prep for Thumbnails and Uploads
Need to prep your images for uploads or thumbnails? Try these quick tools:
- Compress Image to 50KB – Ideal for platforms with strict size limits or ultra-fast loading needs.
- Compress Image to 100KB – Keeps more detail while still significantly reducing file size.
Video & Audio Conversion for YouTubers
If you create content for YouTube or other video platforms, converting files can make editing and sharing easier:
- YouTube MP4 Converter – Convert YouTube videos to MP4 format for offline editing.
- YouTube MP3 Converter – Extract MP3 audio from YouTube videos for background music or podcasts.
💡 Pro Tip: Doing your format conversions before blurring can speed up processing times and reduce file compatibility issues later in your editing workflow. Especially if you do your conversions using BlurMe's HD converter.
These resources complement the techniques in Premiere Pro and give you more flexibility for every editing scenario.
Conclusion
Learning how to blur in Premiere Pro gives you control over your video’s focus, privacy, and style. While Premiere offers professional-grade tools like Gaussian Blur, masks, and tracking, it can be time-consuming for repetitive blurs like multiple faces.
If you need quick results without heavy editing, BlurMe is a 100% online alternative that lets you blur text, logos, faces, backgrounds in seconds. Whether you’re creating content for YouTube, client work, or personal projects, mastering both Premiere Pro and BlurMe ensures you always have the right tool for the job.