Why Do People Resize Images to 100kb Exactly?
Hitting file size limits when uploading photos is a common headache, whether you’re submitting a passport picture, uploading product images, or optimizing visuals for your website. Reducing an image to 100KB keeps uploads smooth and pages fast, but doing it wrong can make photos look dull or pixelated.
In this guide, you’ll learn how to resize images to 100KB online while preserving sharpness and quality using smart compression techniques and AI-powered tools.
How to Resize an Image to 100KB
There are multiple ways to reduce an image’s file size to 100KB. The best approach depends on your needs—whether you prefer a quick, automated solution or more control over compression settings.
1. Use an Online 100KB Image Resizer
The quickest way to resize an image to 100KB is by using an online compression tool. These platforms automatically shrink your image while preserving visual clarity, making them ideal for fast uploads or form submissions.
Step-by-step: Compress to 100KB using BlurMe
Step 1: Upload your image
Go to the BlurMe Online Photo Editor and upload your image (JPG, JPEG, or PNG).

Step 2: Choose your compression level
BlurMe provides three smart settings:
- High quality – minimal compression, best for professional use.
- Default – balanced compression for general uploads.
- Low (80% compressibility) – strong compression ideal for getting images under 100KB.
Step 3: Preview instantly
You’ll see a live preview of your resized image before downloading.
Step 4: Download your compressed file
Click Download, and your photo will be resized to around or below 100KB, depending on your chosen setting.
Other Recommended Tools
If you’d like to explore alternatives:
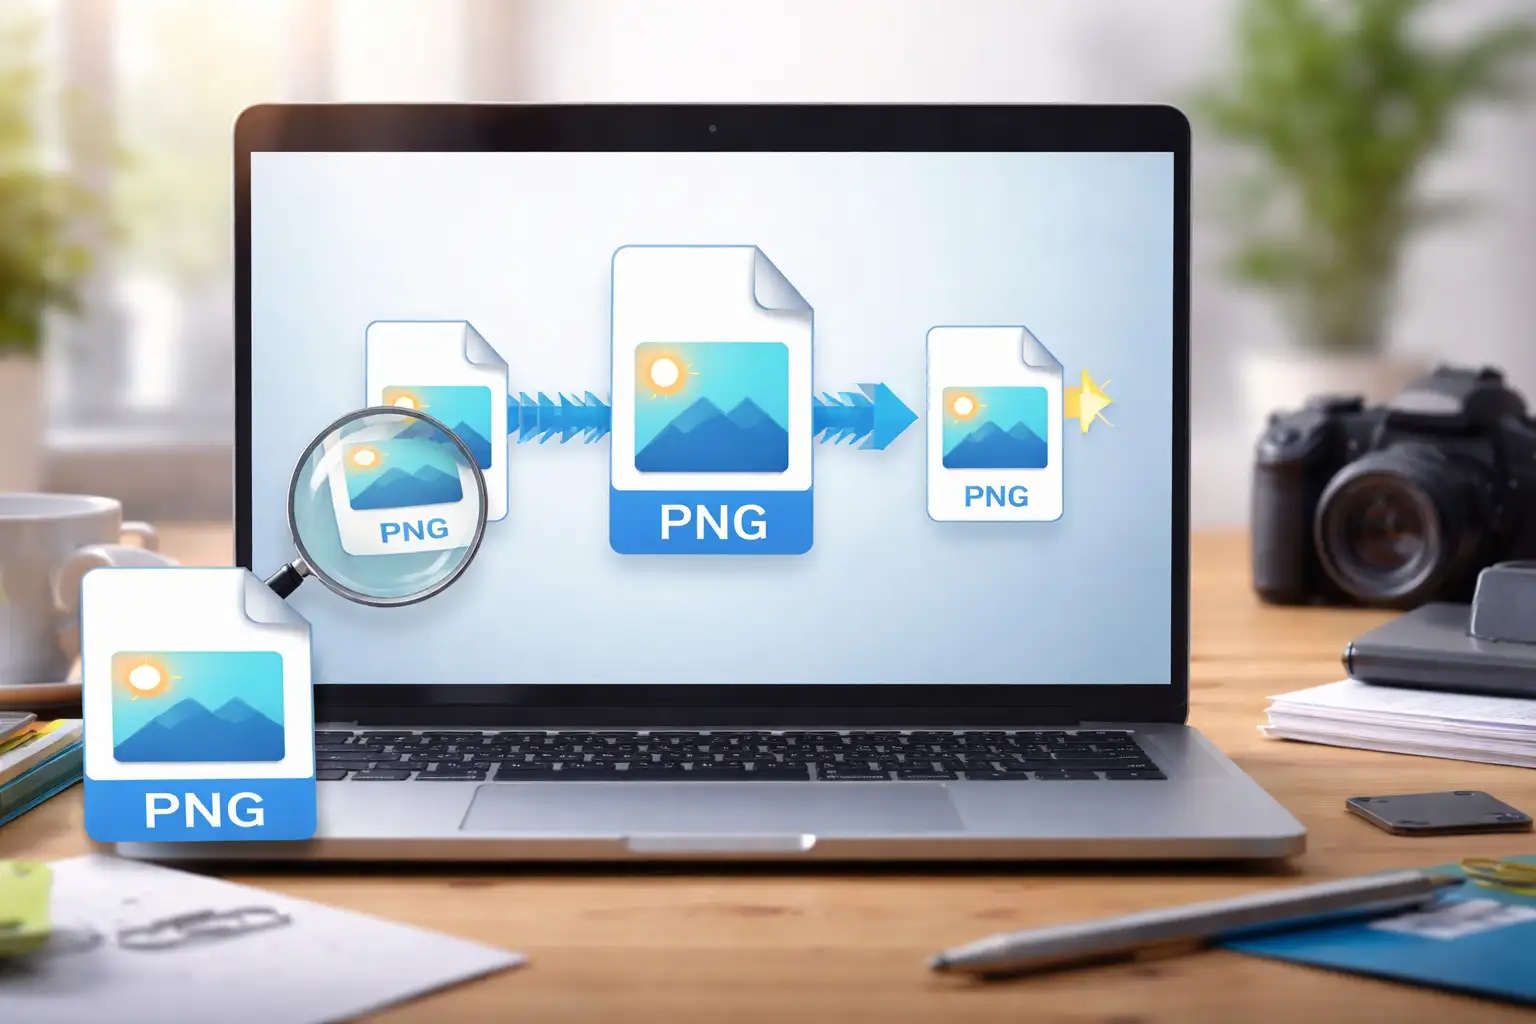
- TinyPNG – Compresses PNG and JPG files efficiently with minimal quality loss.
- ImageOptim – Favored by web developers for lightweight, high-performance image optimization.
These tools often include a “target file size” option, letting you define exactly 100KB before export. Perfect for compliance or upload restrictions.
2. Resize an Image Manually with Photoshop or Free Alternatives
For users who prefer greater control over image quality, manual resizing is a better option.
Steps to Resize an Image in Photoshop:
- Open the image in Photoshop.
- Go to File > Export > Save for Web (Legacy).
- Select JPG or PNG-8 as the file format.
- Adjust the Quality slider until the file size is under 100KB.
- Click Save and export the resized image.
Free Alternatives:
- GIMP – Open-source image editing software with similar resizing tools as Photoshop
- Paint.Net – A lightweight image editor that allows quick compression adjustments
If adjusting quality settings alone does not bring the file size under 100KB, consider reducing the image’s dimensions.
3. Adjust Image Resolution to Reduce File Size
In many cases, an image’s file size is large because of its resolution—the total number of pixels it contains. By lowering the resolution while maintaining aspect ratio, you can significantly reduce file size without noticeable quality loss.
Recommended Image Resolutions for 100KB File Size
Image Format | Suggested Resolution (Pixels) |
|---|---|
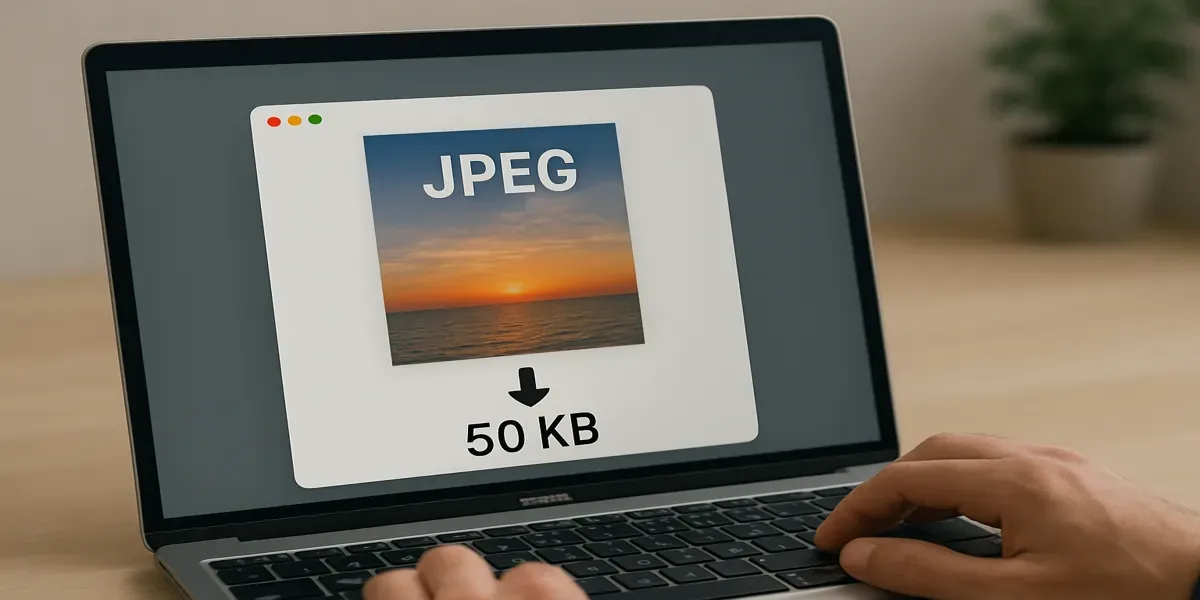
JPG | 800×600 or 1024×768 |
PNG | 500×500 or 720×480 |
WebP | 1200×800 (optimized for web) |
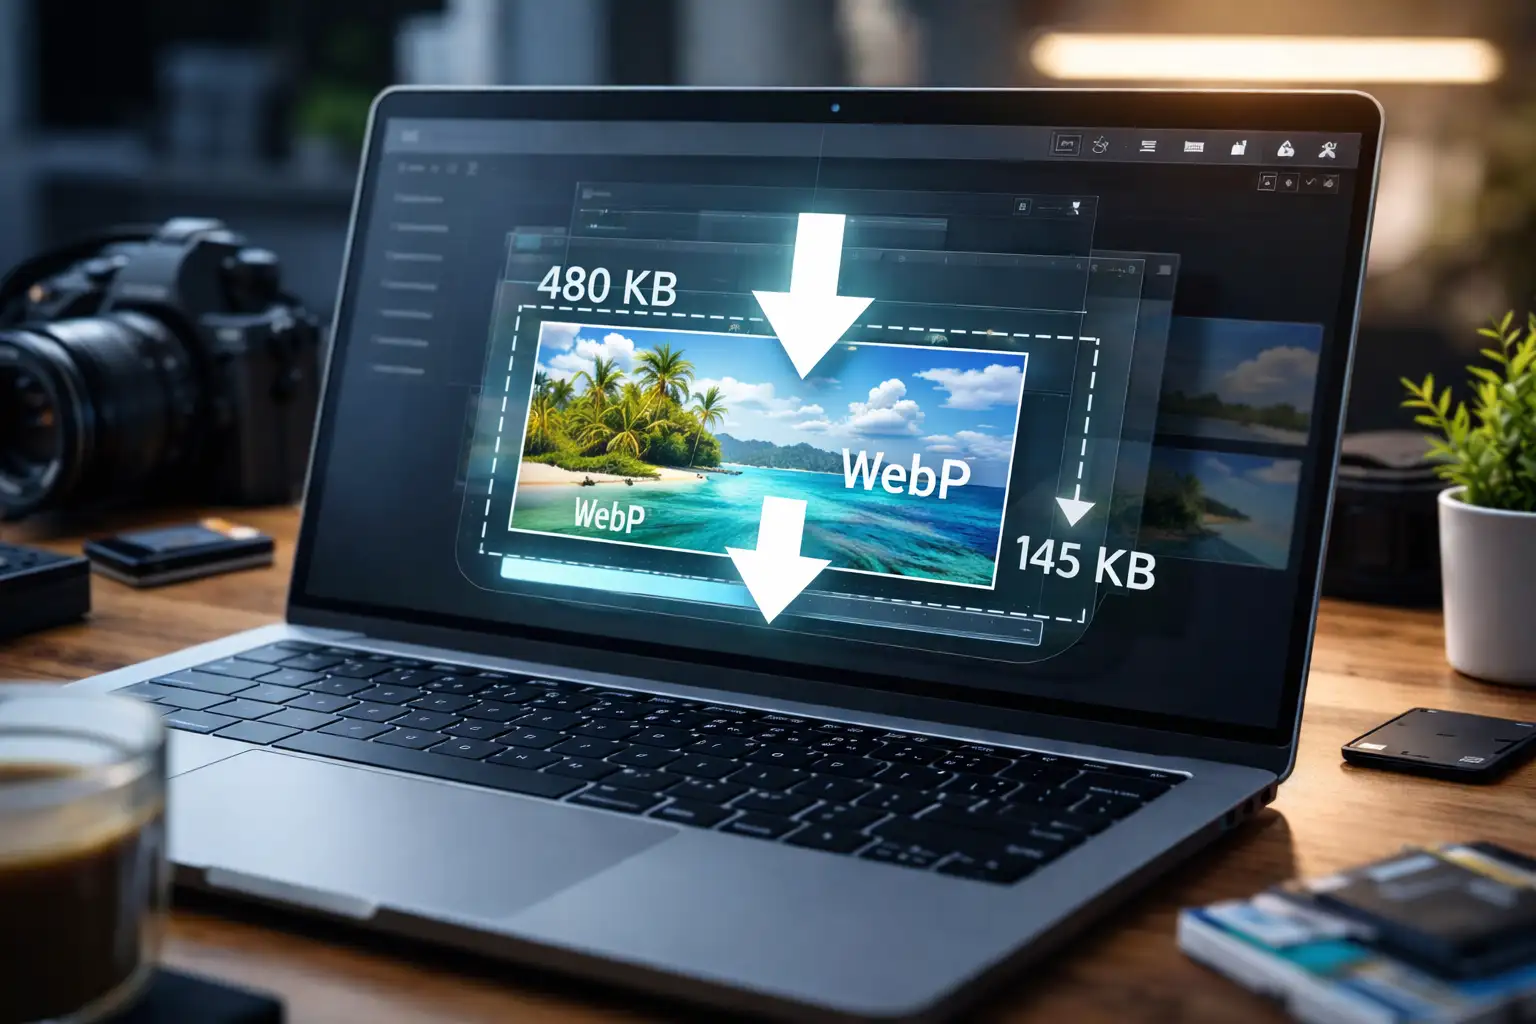
For web use, WebP format is particularly effective, as it offers high compression with minimal quality loss compared to JPG or PNG.
Why 100KB Became the Sweet Spot
Designers, developers, and content managers often mention 100KB as a practical benchmark, not a random number. It’s small enough to load quickly on mobile and web platforms but large enough to preserve fine details for most visual formats. Years of testing across platforms, government sites, and e-commerce forms show that 100KB often strikes the perfect balance between speed, quality, and compatibility.
Professionals rely on this target to pass upload limits, improve Core Web Vitals, and deliver a smoother browsing experience. The real skill lies in compression — knowing how to strip unnecessary data while protecting the parts of the image that define its clarity. With the right workflow or AI-based resizer, it’s easy to stay under 100KB without anyone noticing the difference.
Final Tips for Resizing an Image to 100KB
When reducing an image’s file size, finding the right balance between compression and quality is key. If a single method does not achieve the desired result, try a combination of techniques: adjusting resolution, changing file format, and fine-tuning compression settings. For web use, WebP is often the most efficient format, while JPG works well for general purposes. If transparency is required, PNG may be necessary, but optimizing it properly is crucial. With the right approach, you can ensure that your 100KB image resizer delivers high-quality results without exceeding file size limits.
Frequently Asked Questions
- Can I resize an image to exactly 100KB?
Yes. Many online tools and editing software allow you to set a target file size. The compression algorithm automatically adjusts quality and resolution to ensure the image does not exceed 100KB. In fact, you can resize an image to 20KB or more, depending on how much you want to reduce the file size in KB. - What is the best format for a 100KB image?
- JPG – Best for general use and websites.
- PNG – Suitable for images requiring transparency, especially when adding enhancements like blur effects.
- WebP – Offers the best balance between file size and quality.
- Will resizing an image affect quality?
If done correctly, resizing an image does not have to lead to significant quality loss. Using advanced compression tools or adjusting resolution strategically can preserve clarity while reducing file size.
Conclusion: Reduce KB Easily and Efficiently
Reducing an image to 100KB is essential for certain online submissions, website performance, and storage efficiency. Especially for using an online resizer for convenience or manual editing for precision, there are multiple ways to achieve the right balance between file size and quality.
For an easy and efficient solution, try BlurMe’s AI blur tool to instantly convert in HD and optimize your images without compromising quality.