Censor Video - Blur, Pixelate or add Censor Bar to Videos
Danielle King Part of: Blur Video Complete Guide: Tools, Methods & Best Practices (2025)Read the complete guide →
Not every detail in a video needs to be public. Censoring a video keeps things private and professional. With the right video blur tool, adding a censor bar, blur effect, or pixelation is quick and effortless, especially when you do it with AI.
With BlurMe's Blur Video tool, you can blur, pixelate, or add a censor bar to any video online in just a few clicks. No downloads, no technical skills, just fast, easy AI-powered auto video censorship.
Why Censor a Video?
Video censorship is useful for a variety of reasons:
- Privacy Protection – Blur faces, license plates, or personal information.
- Content Compliance – Ensure videos comply with guidelines by using censor bar or blur overlay.
- Creative Edits – Add a censored eyes effect or pixelation for stylistic edits.
How to Censor a Video Online in 4 Easy Steps
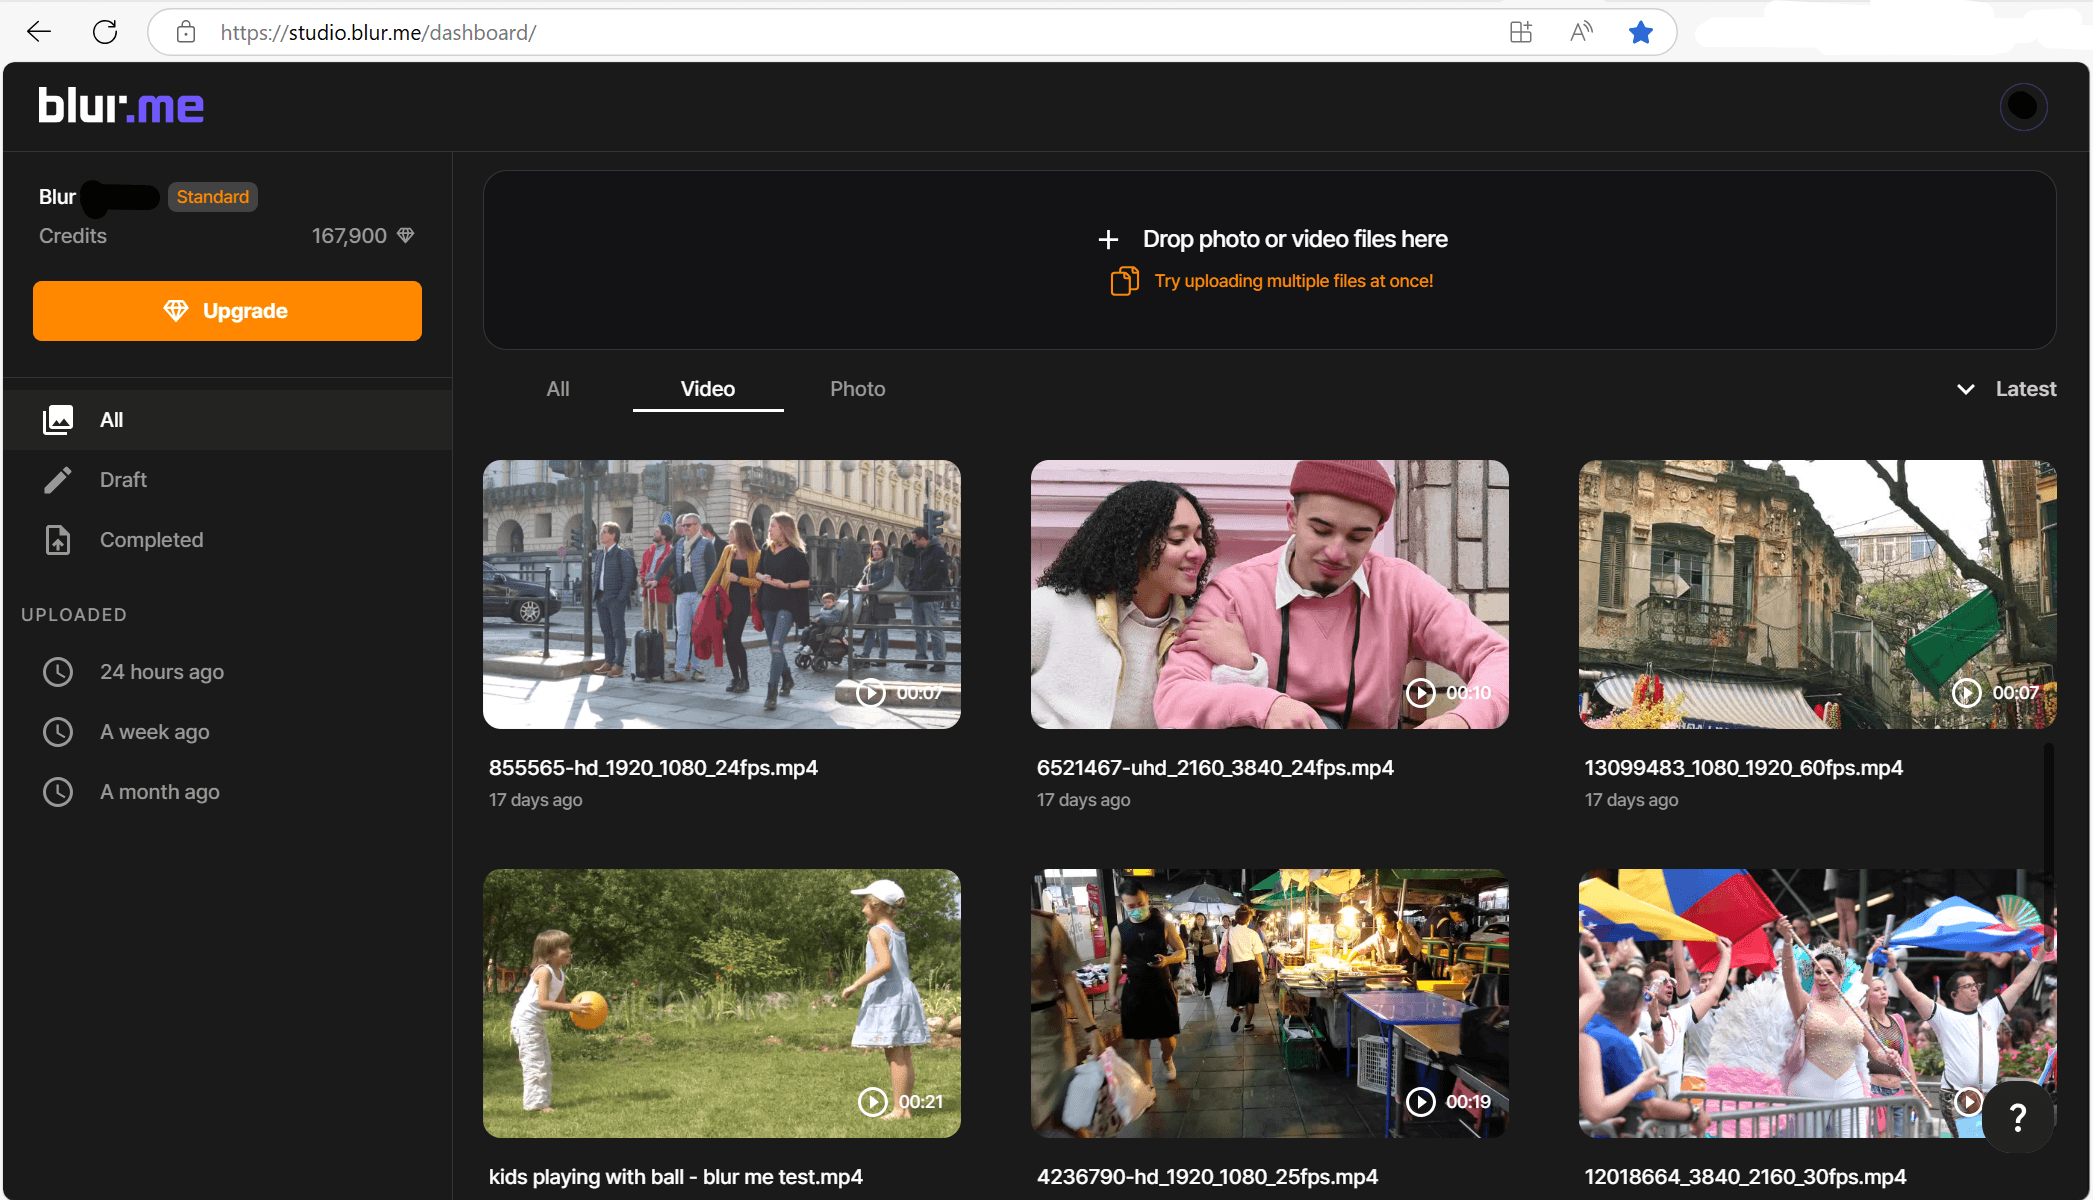
Step 1: Upload Your Video
Go to BlurMe’s online editor and upload your video. The site supports multiple formats, so you can censor videos from any device without compatibility issues.
Step 2: Choose a Censorship Effect
- Blur Effect – Smoothly blurs parts of the video while keeping movement natural. Perfect for blurring faces or blur background objects.
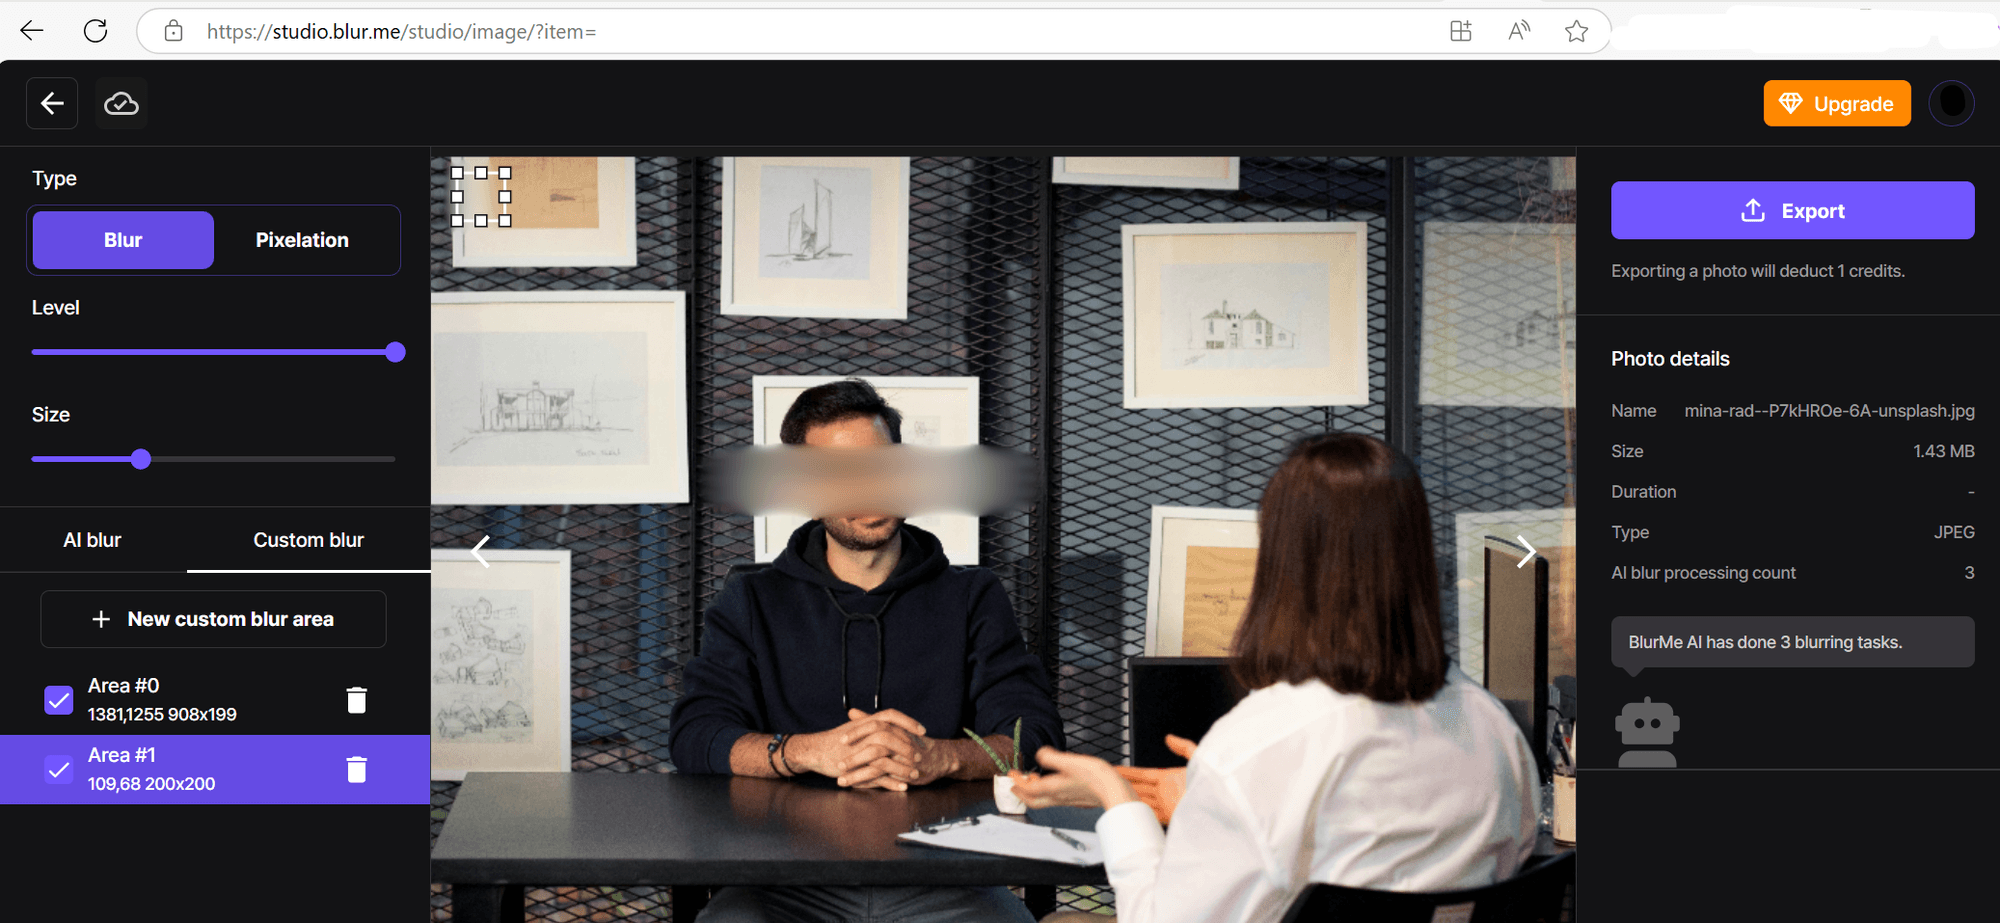
- Pixelation – Converts areas into large, blocky pixels, making details unrecognizable. Useful for hiding text, faces, or private information.
- Censor Bar – The standard censor block over eyes, names, or restricted content. Ideal for professional and comedic edits alike.
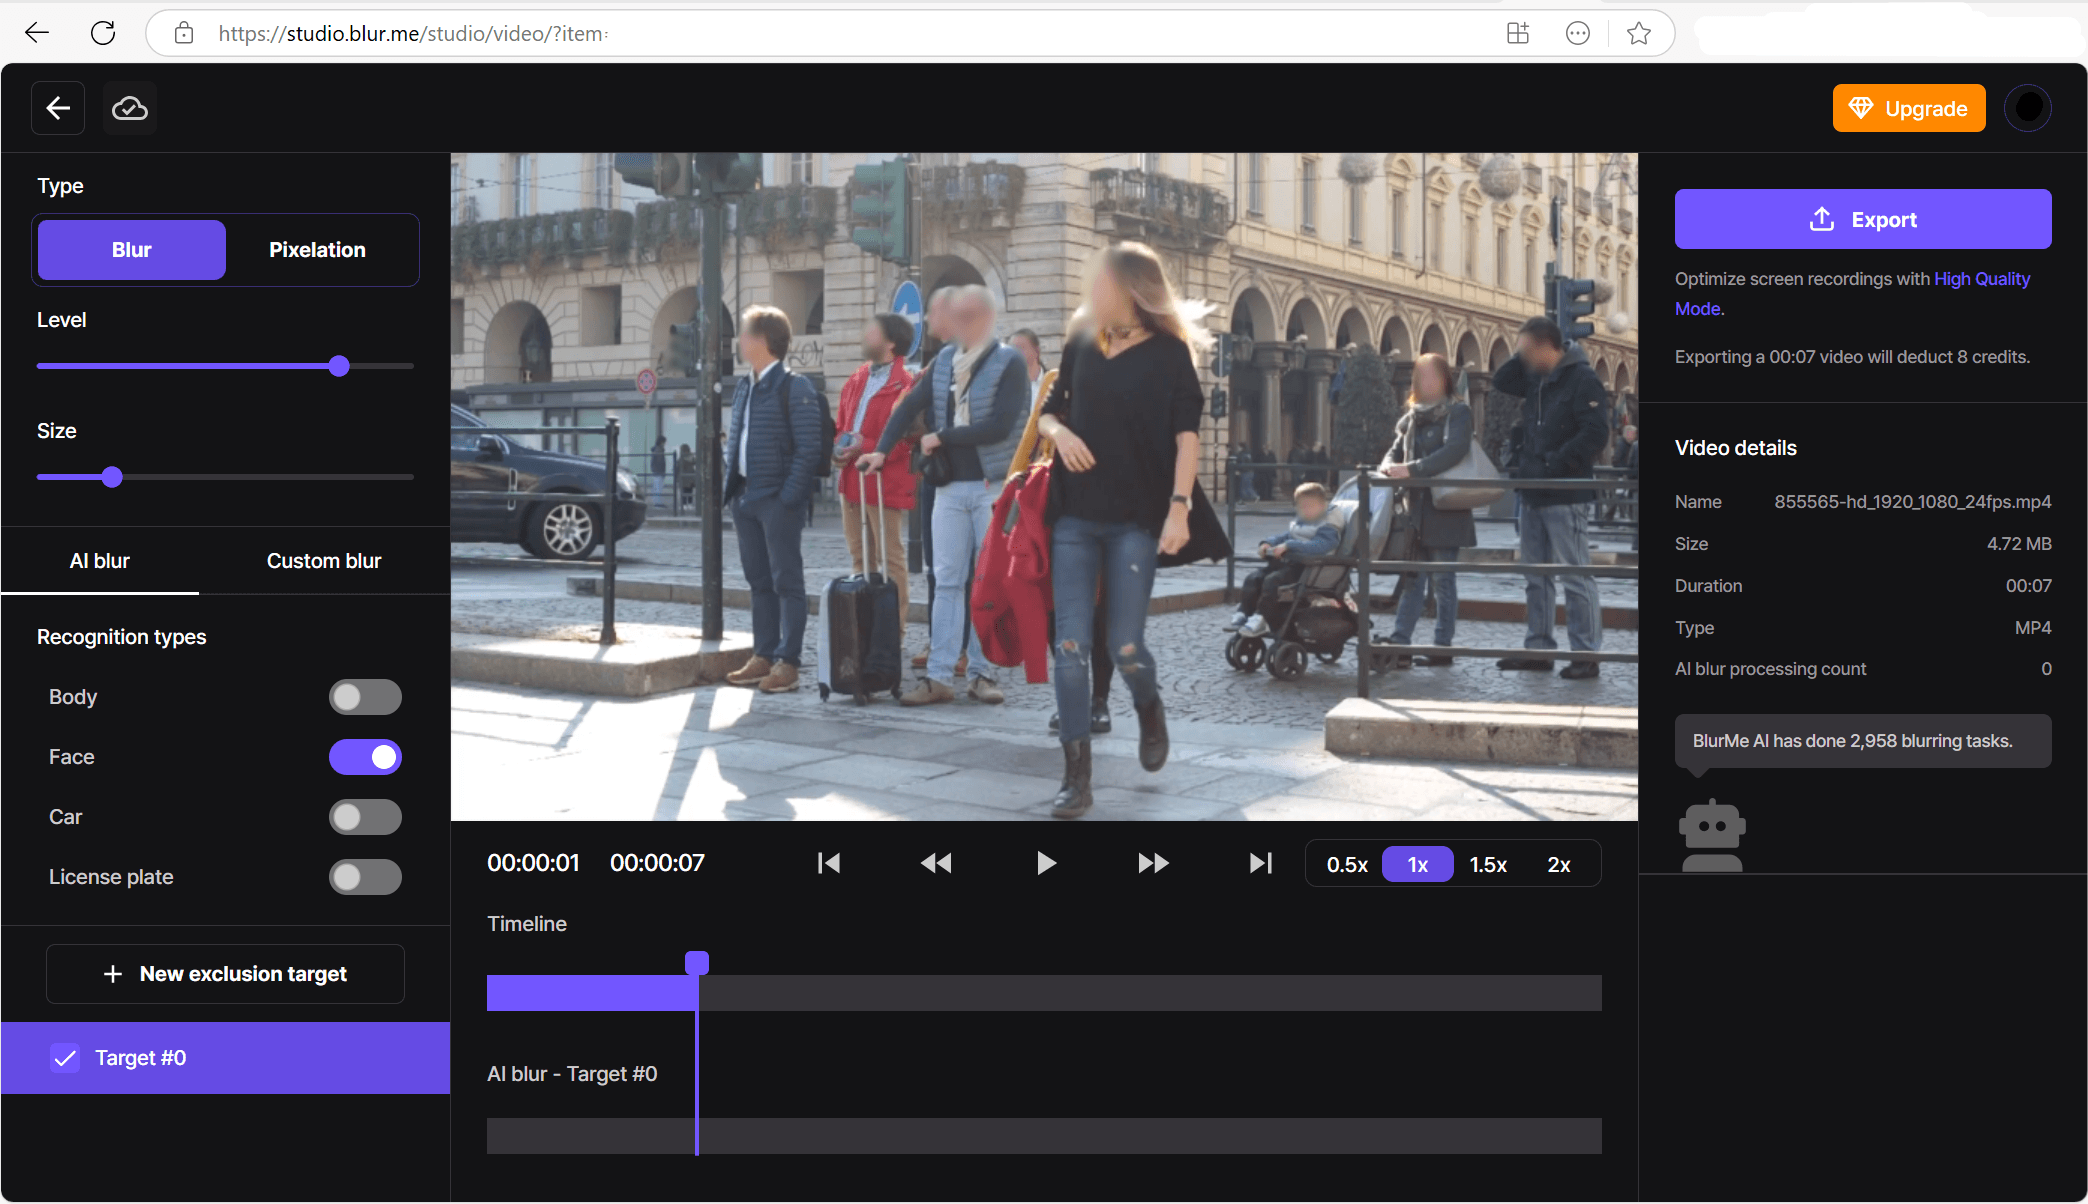
Step 3: Apply the Censor Filter
With BlurMe’s custom censoring and drag-and-drop tool, select areas to blur, pixelate, or add a censor bar. Adjust the intensity and size to ensure the censor effect stays in place, even when people or the video move, the censor will follow it precisely.
Step 4: Download Your Censored Video
Once satisfied, download your edited video in high quality. Your censored video is now ready to share!
Why Use BlurMe for Video Censorship?
- Works on Any Device – Desktop and mobile-friendly.
- Auto-Track Moving Faces – Keeps censorship locked on moving faces and objects.
- 100% Online – No software downloads required.
- Video Censorship Options – Blur, pixelate, or apply a censor bar in one tool.
Tips for Censoring Videos Effectively
- Choose the Right Effect – Use face blur for subtle edits, pixelation for full obscurity, and a censor bar for clear targeted redaction. We have a great article on blurring faces in videos in detail.
- Enable Motion Tracking – Keep the effect locked on moving faces or objects your video.
- Adjust Blur Strength – Stronger blur ensures privacy, while lighter blur maintains some visibility.
- Check All Frames – Review the video to ensure the censor effect stays in place throughout.
- Balance Privacy and Quality – Avoid excessive blur that lowers video clarity.
With these best practices, BlurMe ensures a professional and secure video edit.
Final Thoughts
Censoring a video doesn’t have to be complicated. With BlurMe, you can blur faces, pixelate sensitive content, or add a censor bar with ease. No matter the reason you get full control over how your video appears.
Try BlurMe now for FREE and censor your video in seconds!