Making a photo blurry is the easiest way to hide distractions, direct focus, or create that dreamy depth-of-field look without buying an expensive lens. BlurMe is your perfect online blur photo editor that lets you easily achieve a blurry photo easily online for free.
In this tutorial, we’ll guide you through how to make a photo blurry with BlurMe, an easy and free image blurring tool.
Why Make a Photo Blurry?
There are many reasons to make a photo blurry or add a blur filter effect to your pictures:
- Direct attention – The eye goes straight to the only sharp element.
- Hide clutter – Messy apartments, busy streets, brand logos, gone in a swipe.
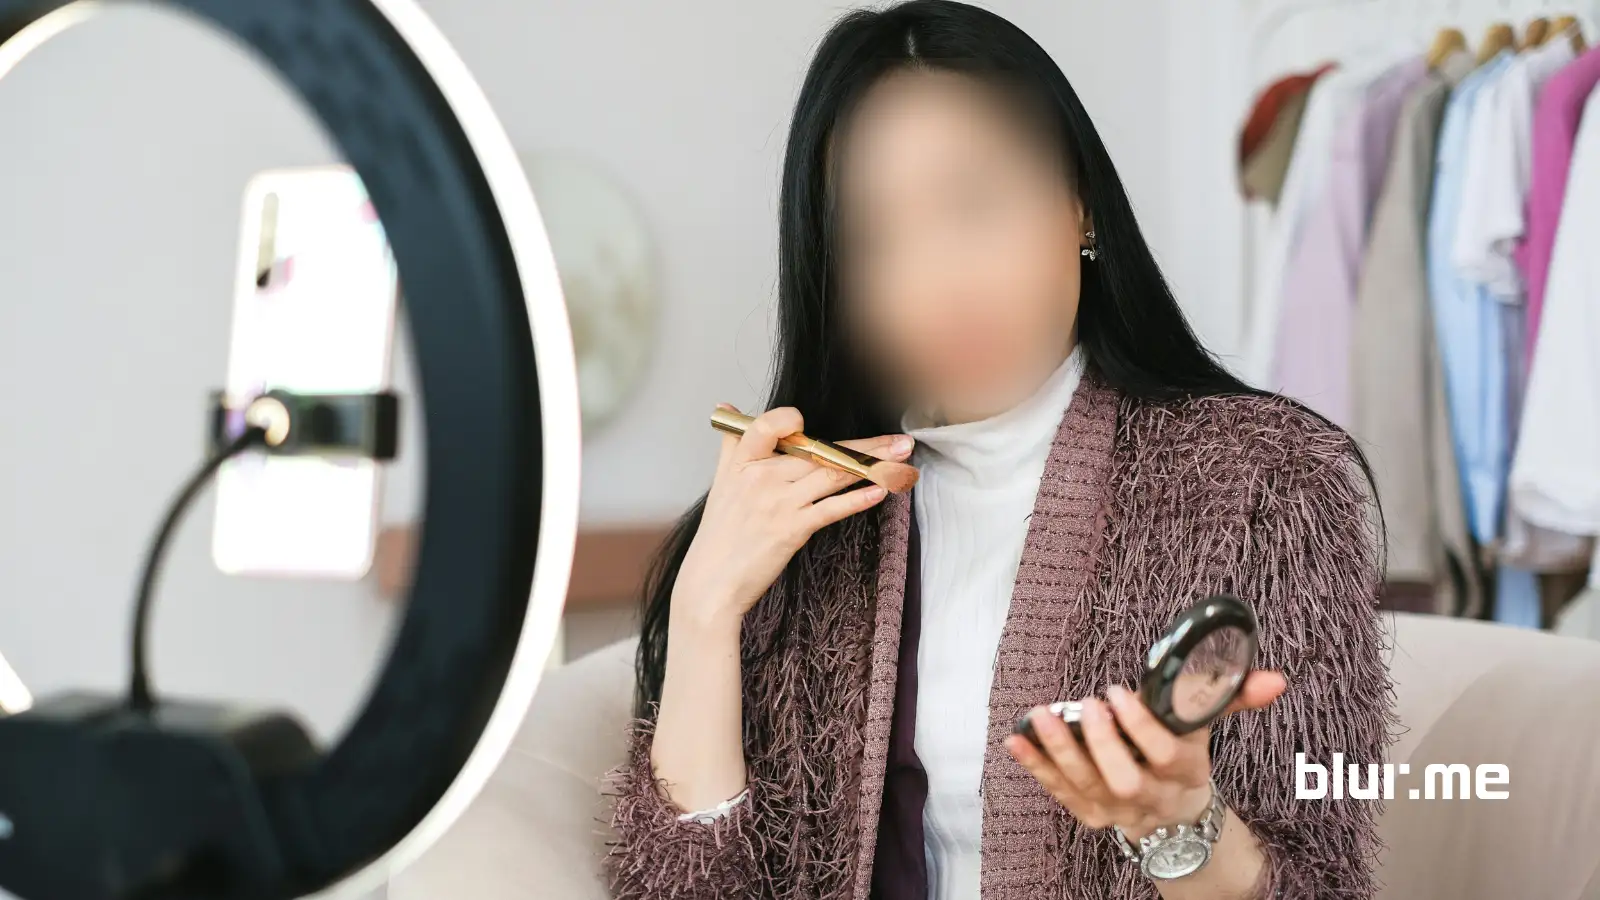
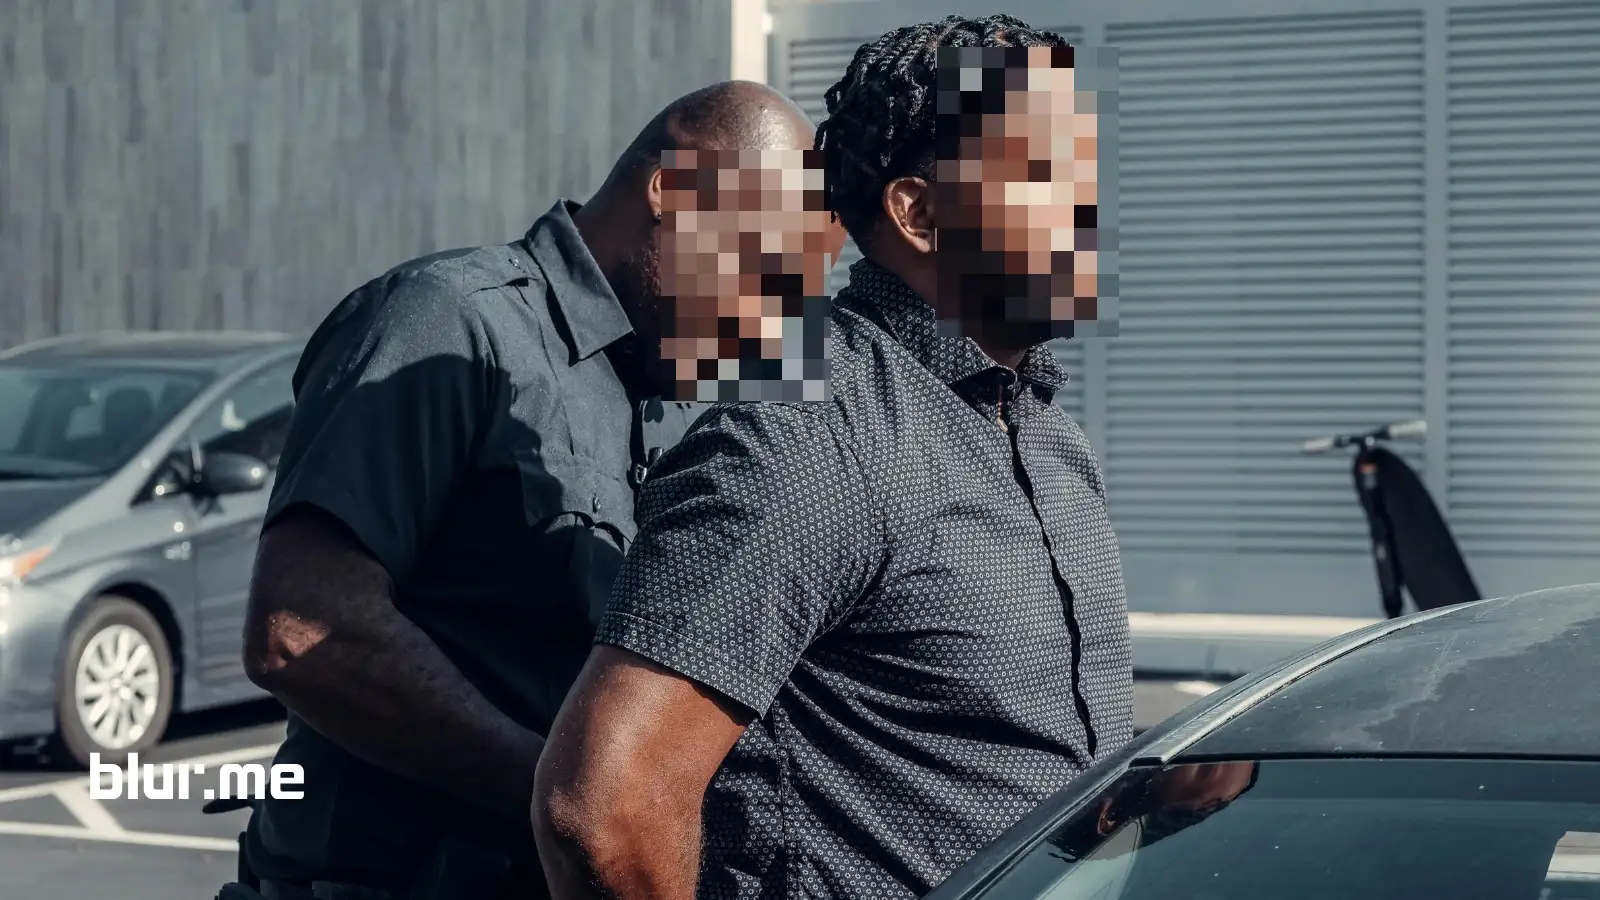
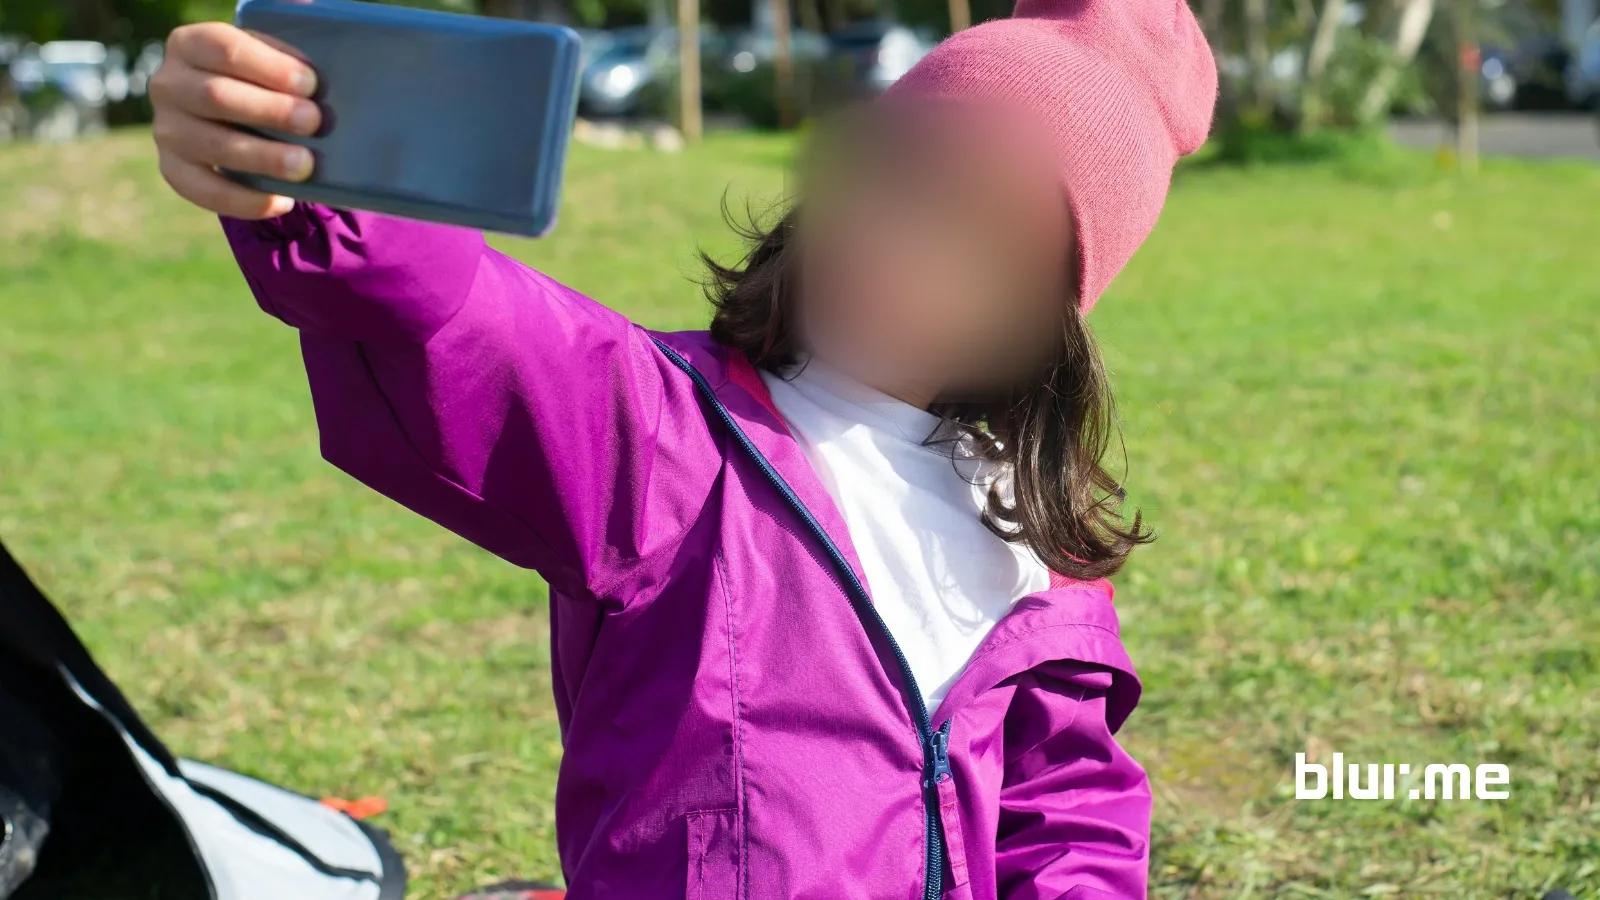
- Guarantee privacy – Automatic face detection keeps strangers anonymous, a lifesaver for vloggers and teachers posting class photos.
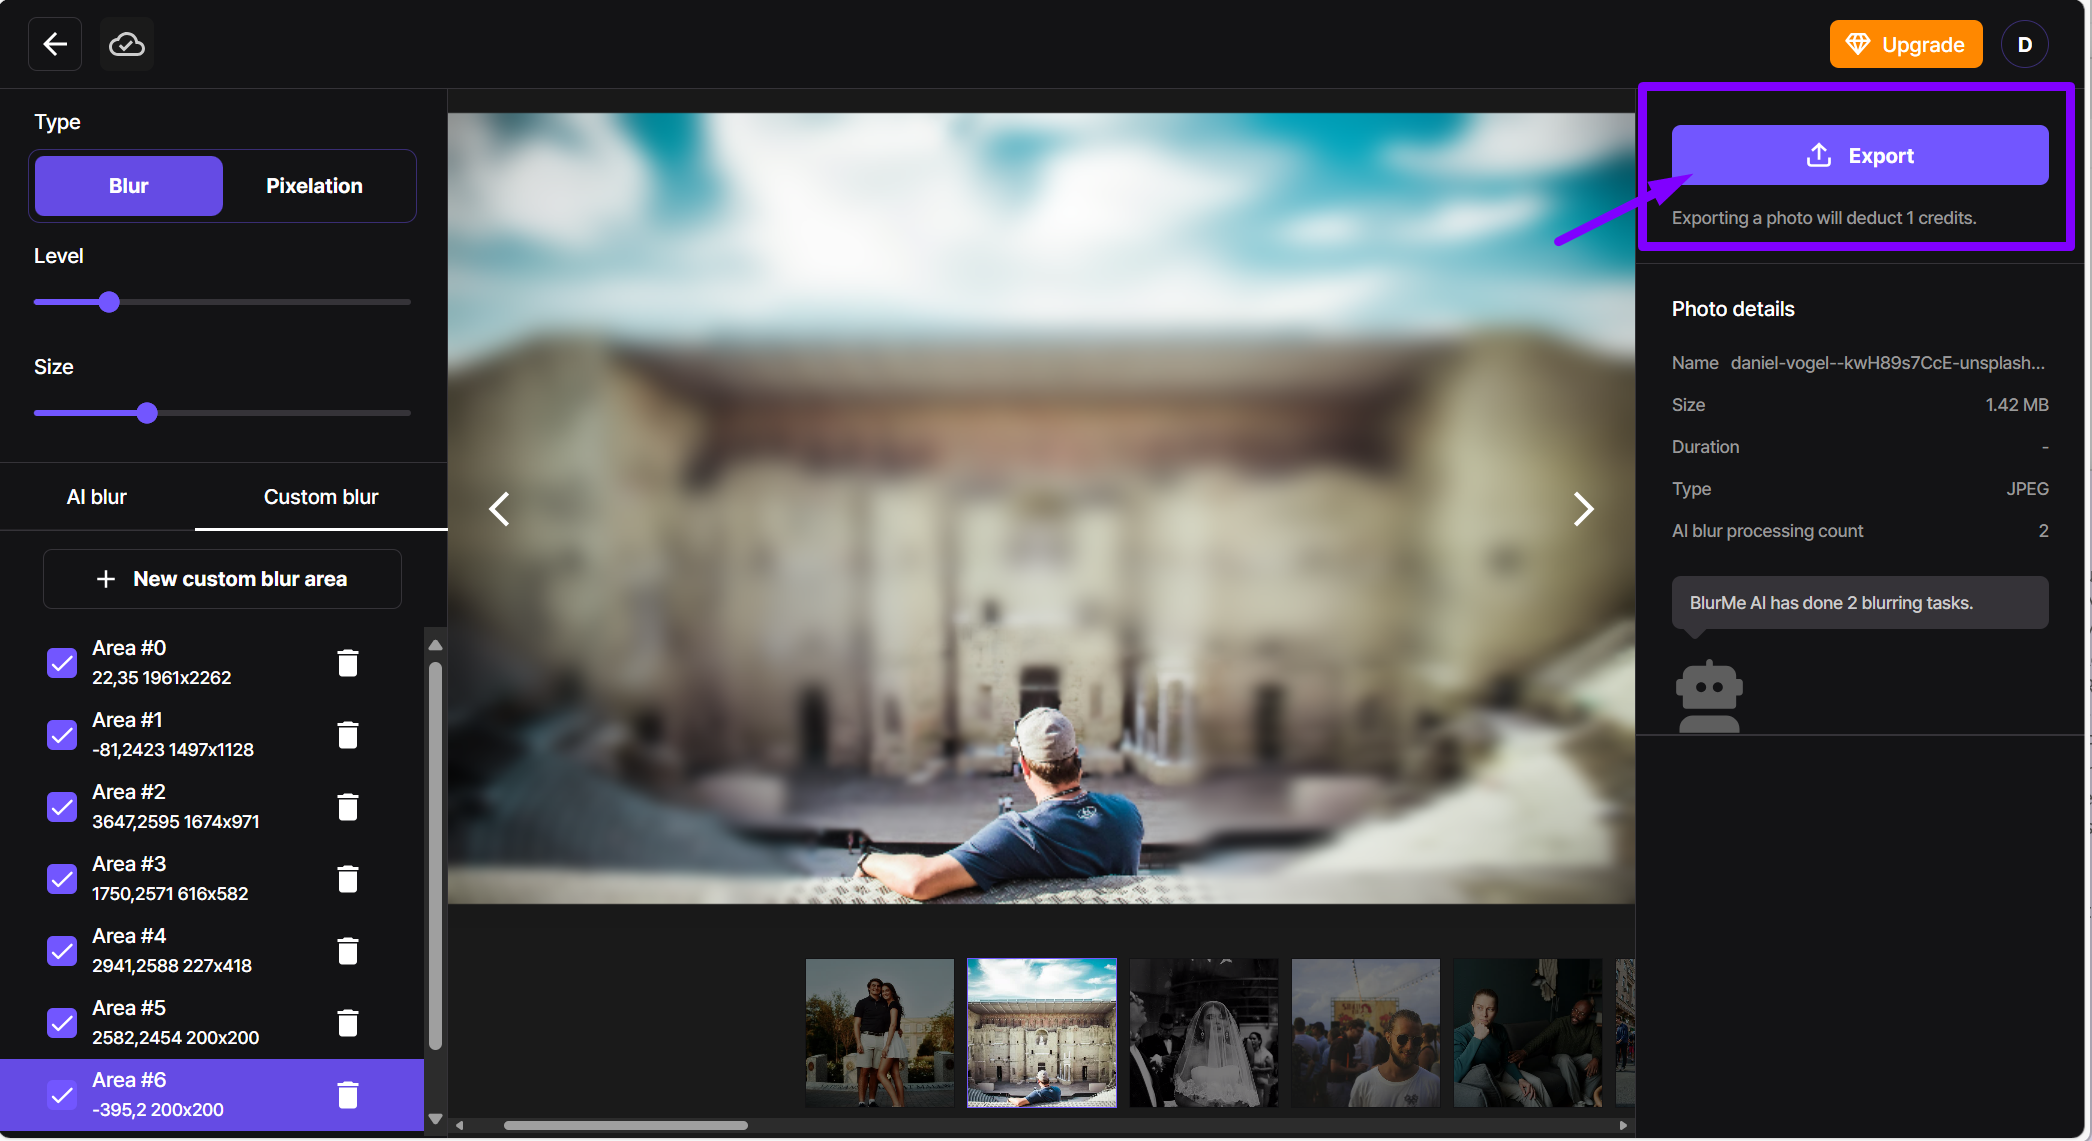
How to Make a Photo Blurry
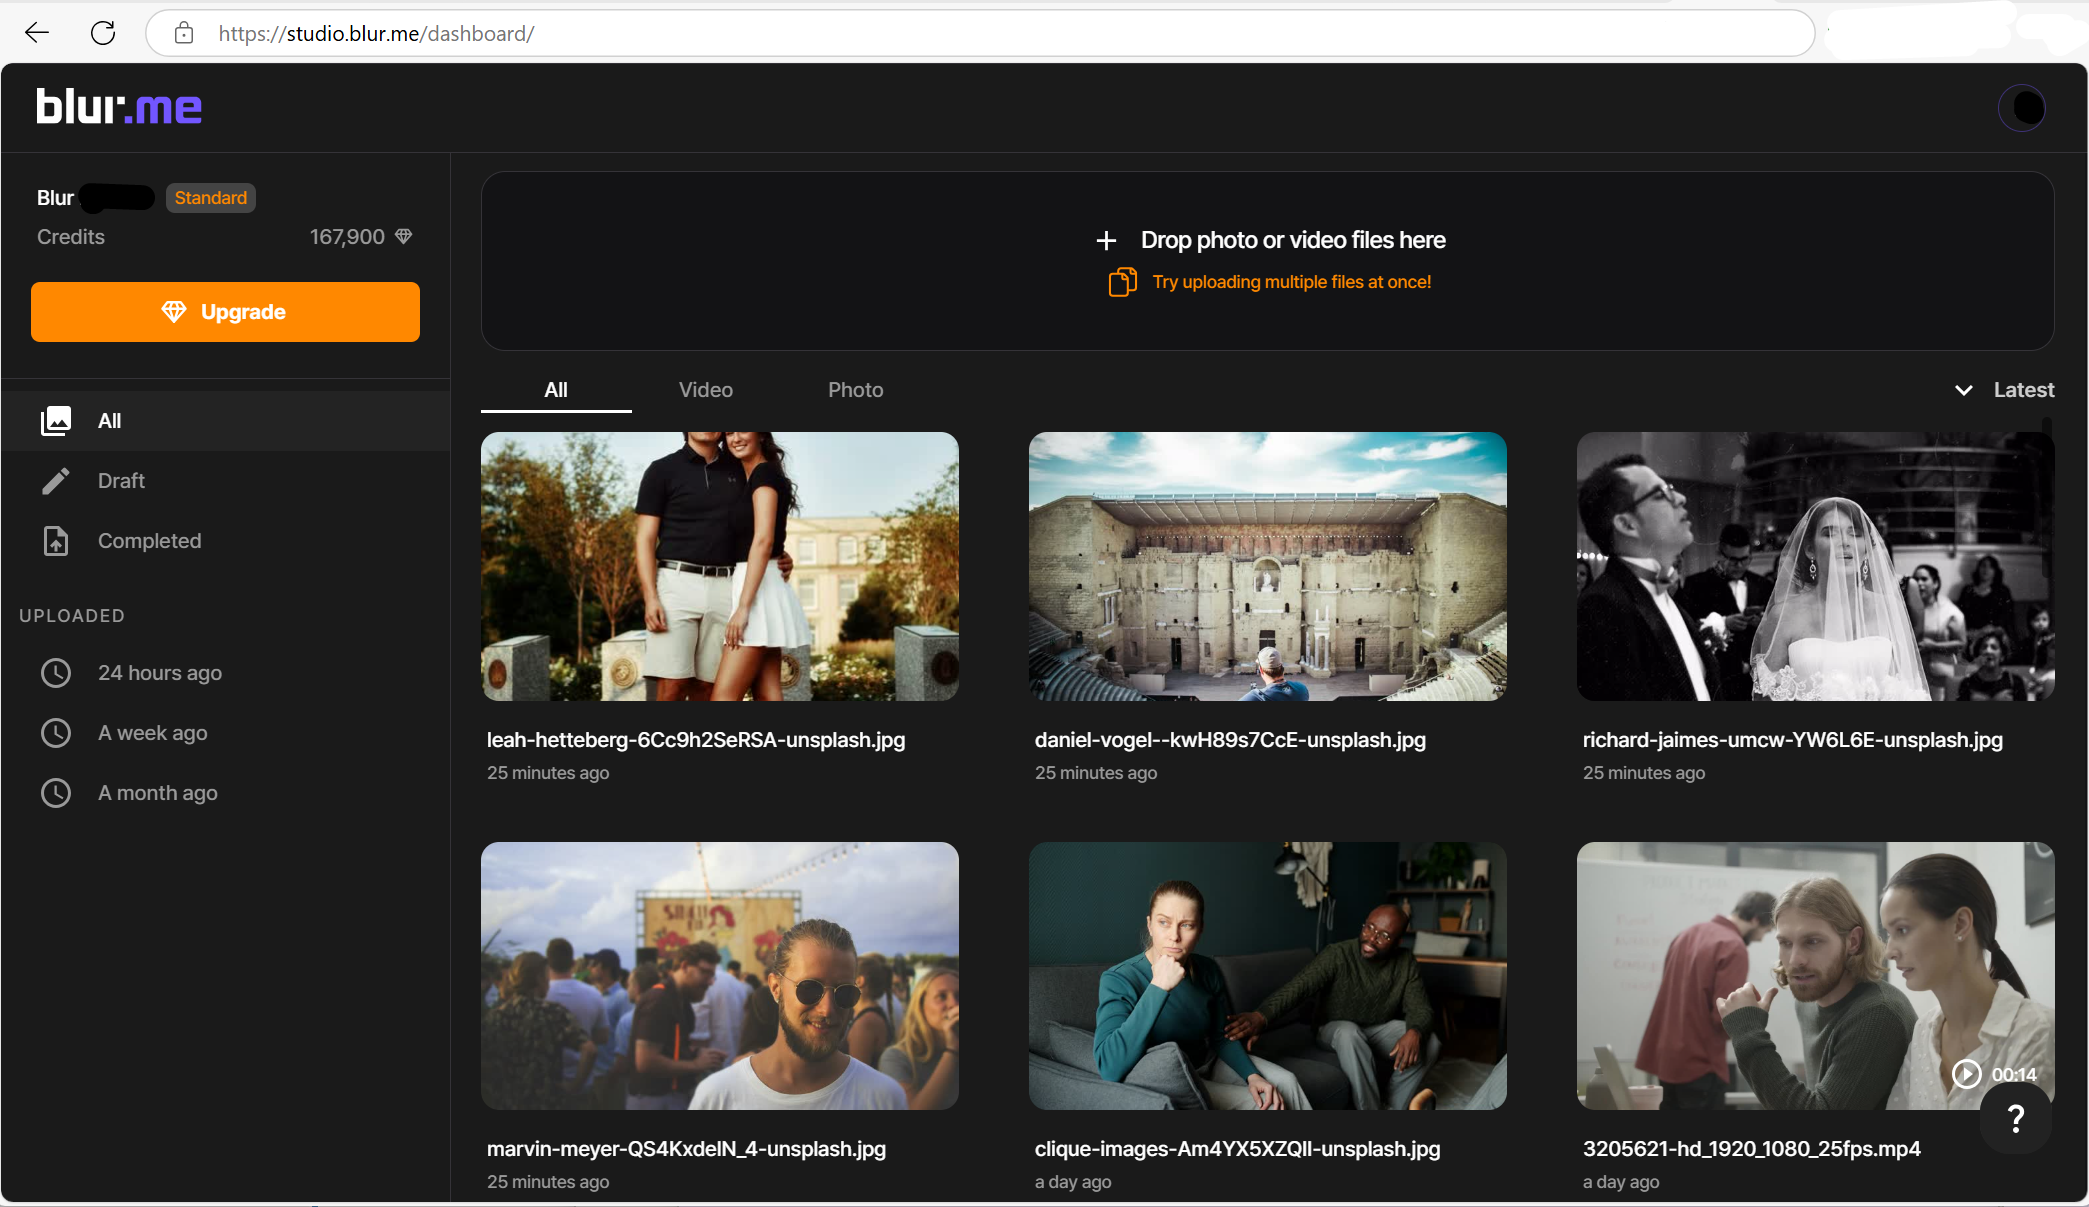
Step 1: Visit BlurMe and Upload Your Photo
Go to BlurMe Studio editor and upload the photo you want to make blurry. BlurMe supports all popular image formats like JPG and PNG.
Step 2: Choose Your Blur Style
BlurMe offers multiple ways to blur a photo:
- Use the AI Blur feature for automatic detection and blur of faces or objects
- Select the Custom Blur tool to manually blur specific parts for a tailored blurry photo effect.

Step 3: Adjust the Blur Intensity
Slide to increase or decrease the blur level until you get the perfect blurred photo effect. BlurMe’s real-time preview helps you see changes instantly.

Step 4: Download Your Blurred Photo
Once you’re happy with how your photo looks, click the export button to save your newly blurred image. Now you have a professional-looking blurry picture ready to share.
Pro Tips for Making a Picture Blurry
- Apply selective blur to the background only, keeping your subject sharp for a polished blurred photo effect
- Experiment with different blur intensities to get just the right level of softness without losing detail
- Combine blur with contrast or brightness adjustments for a more striking blurry aesthetic
- Use BlurMe’s image blurring tool to quickly toggle between manual and AI blur options for best results
For creative blur ideas, check out our detailed guide on How to Make a Blurry Aesthetic.
How to Optimize Your Photo For Blurring
Blurring your photo is just the first step. To get the best final image:
- Face anonymity in one click – Use AI Blur → Faces. To get started head to our Blur Face tool.
- Selective logo removal – Zoom in, pick Custom Blur, and select just the logo.
- Depth-of-field trick – Blur background at 40–60 % strength, leave the subject sharp, and you’ll simulate an f/1.4 look.
- Check file size: For web use, compress the image slightly to keep load times fast without losing quality. Including compressing to 50kb, reducing to 20kb and more image size reduction.
Optimizing after you make a photo blurry ensures your final image looks professional and eye-catching.
Why BlurMe Beats Other Image-Blurring Tools
Photoshop’s Gaussian Blur demands manual masking, Snapseed exports at lower resolution, and Canva lacks precision. BlurMe does it all in one browser tab.
BlurMe Features You’ll Love
- Face Blur Effect — Automatically detects and blurs faces for privacy and anonymity
- Blur Image — Quickly blur any part of your image with easy controls
- Blur Background — Instantly blur the background of your photo with simple, precise controls
Start Making Your Photos Blurry with BlurMe Today!
Now that you know how to make a photo blurry with BlurMe, why wait? Visit BlurMe to try the best blur photo editor online and get that perfect blurred photo effect effortlessly.
Try BlurMe now and see how simple it is to make a picture blurry anytime, anywhere.