How to pixelate part of an image is one of the most common editing requests today, especially for creators, educators, professionals, and anyone who needs to censor an image online quickly. This guide shows you exactly how to pixelate an image, blur specific parts, and apply a clean pixelated censor effect with precision.
We’ll use BlurMe’s AI Face Blur and Custom Blur tools to create strong pixel blur effects, plus explain best practices, real examples, and smart tips.
What Pixelating Part of an Image Does
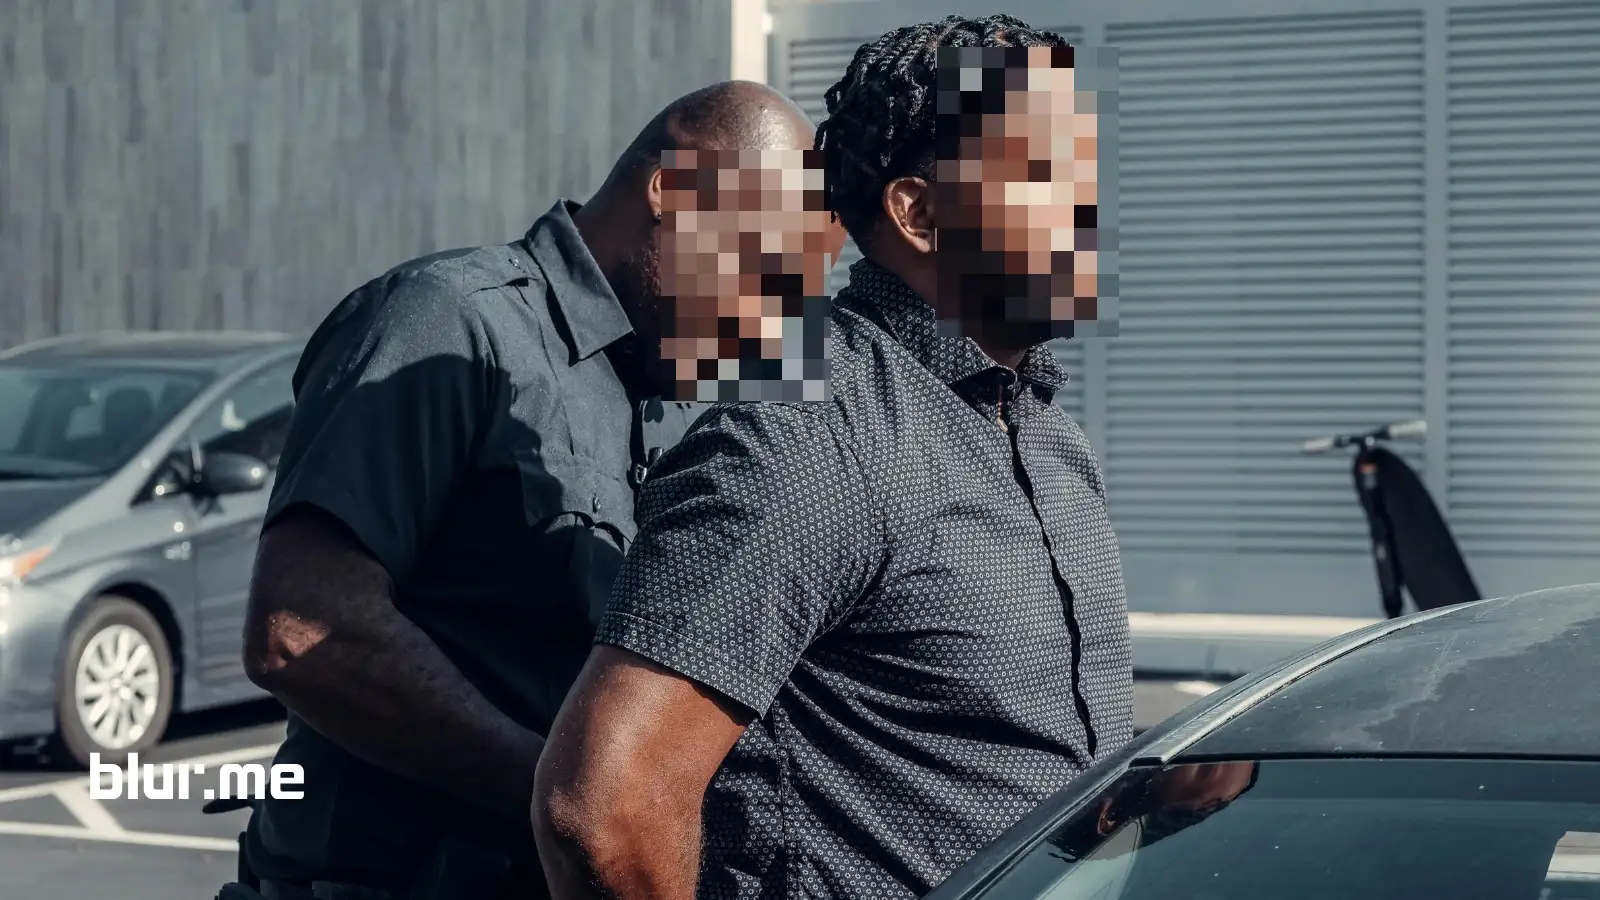
Pixelation replaces detail with visible square blocks, creating a pixelated censor effect. It's stronger and more deliberate than regular blurring, ideal for privacy, compliance, or stylistic edits.
Typical uses include:
- Hiding identification details
- Censoring NSFW elements
- Masking brand logos
- Obscuring background objects
If you're doing this often, you may also want to check BlurMe’s Face Blur App — a top tool for auto-detecting and hiding faces.
How to Pixelate Part of an Image Online (BlurMe Tutorial)
Here’s the cleanest, fastest method using BlurMe Studio, a fully online photo editor.
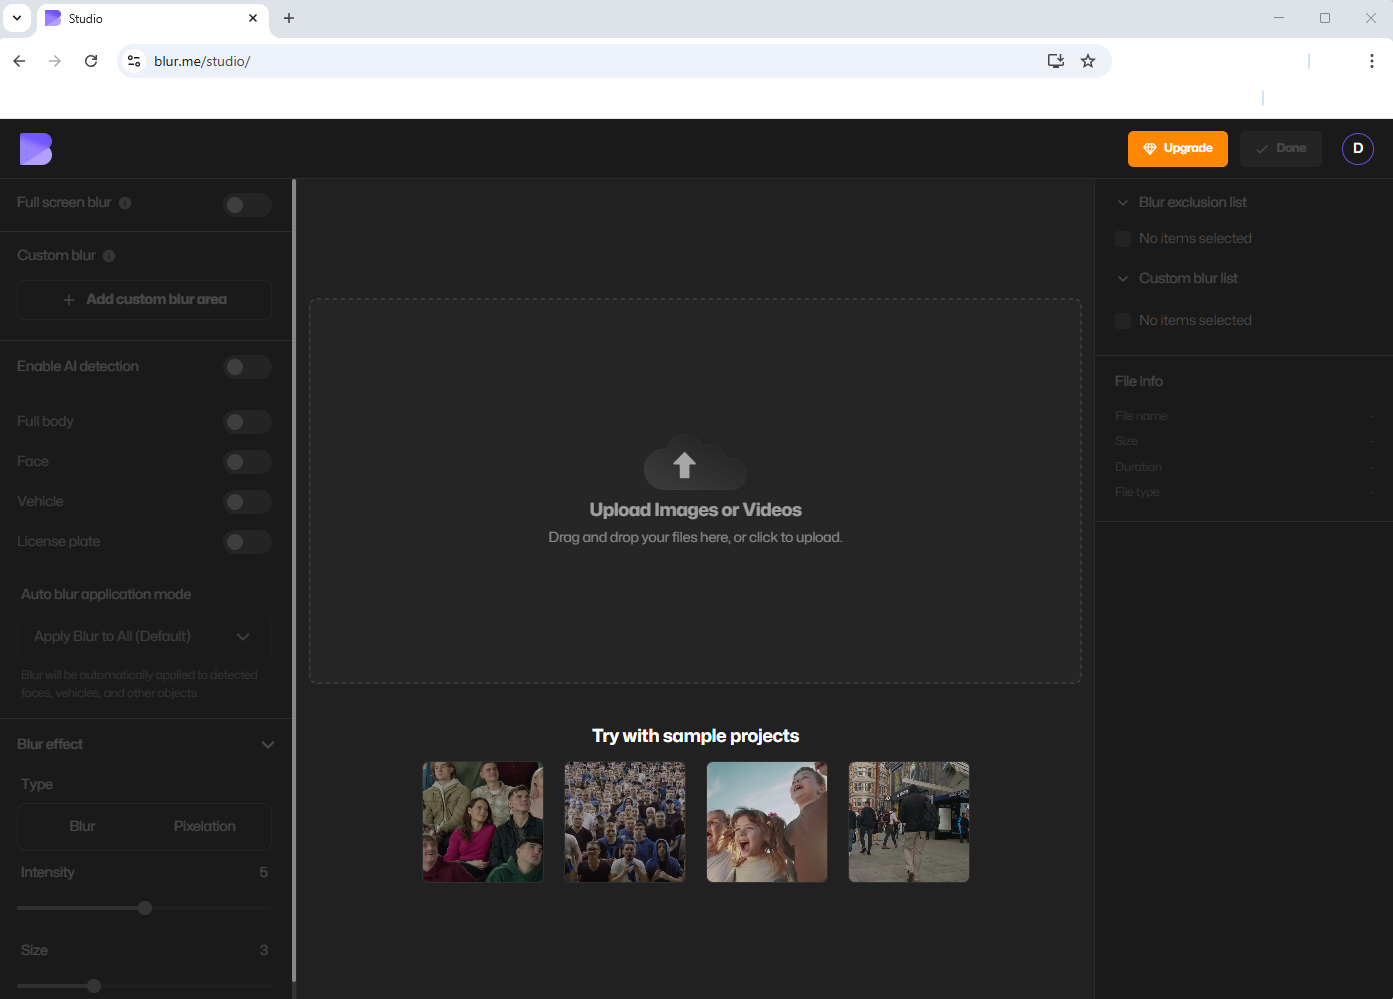
Step 1 — Open BlurMe Studio
Go to BlurMe Online Studio in your browser. No installation required and works instantly with any modern device.
(If you ever need to blur an entire image instead, BlurMe also has a dedicated blur image online tool built in.)
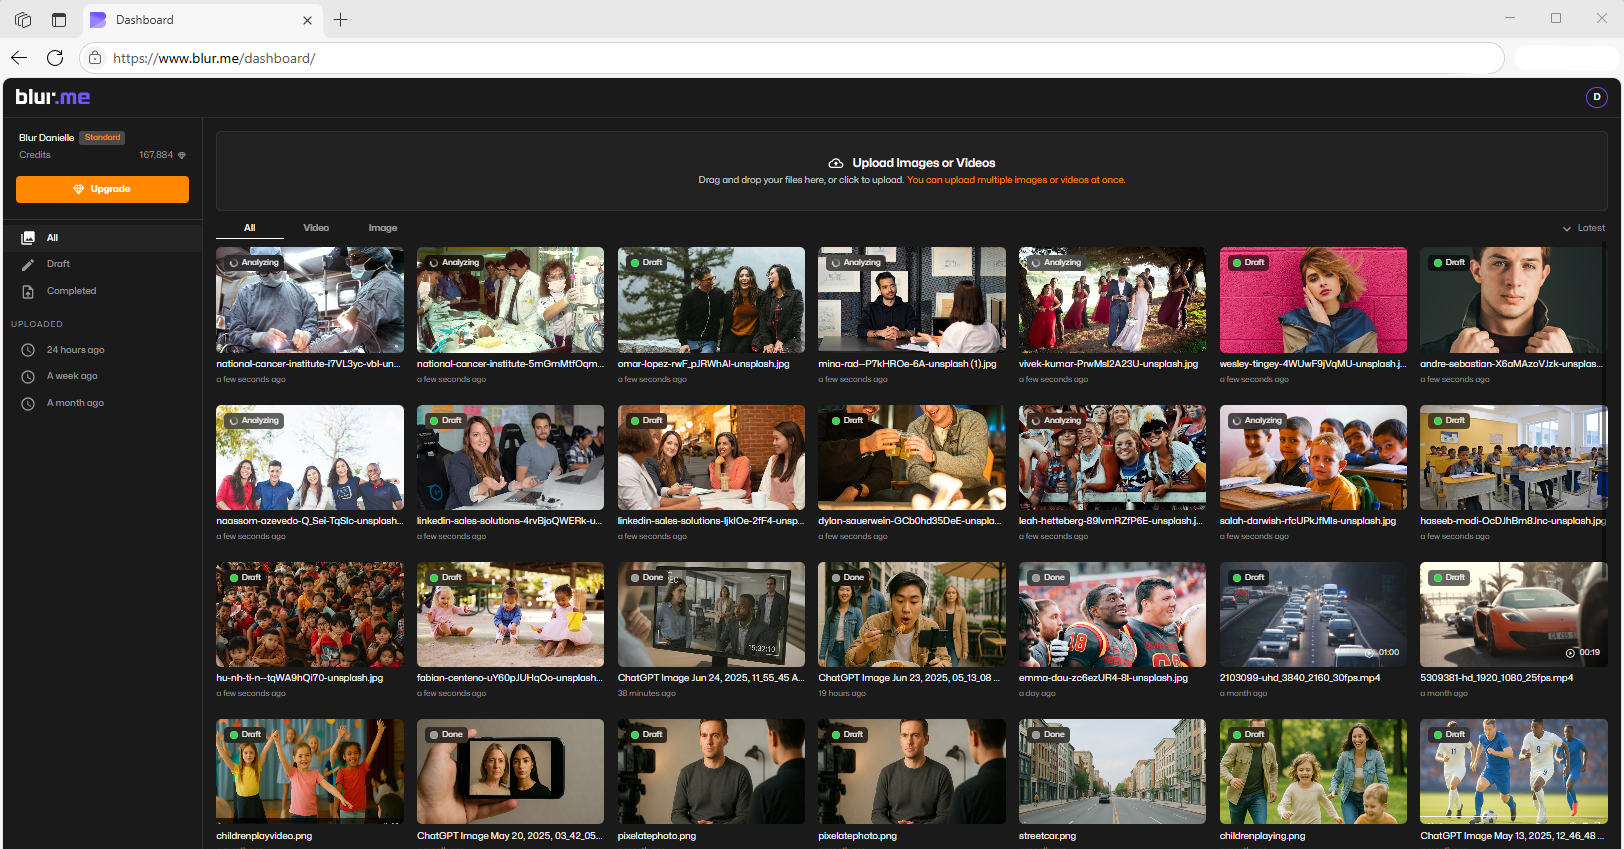
Step 2 — Upload Your Photo
Upload your PNG, JPG, HEIC, or WEBP file. Your photo appears immediately in the editor.
Step 3 — Choose the Pixelation Method
You can pixelate automatically (for faces) or manually (for anything).
Option A — AI Pixelation for Faces
Best for instant identity hiding.
- Select AI Blur.
- BlurMe detects every face in the photo.
- Click the faces you want to censor.
- Change Blur Type from standard blur to Pixelate.
- Adjust pixel block size for stronger or softer censoring.
This works beautifully for:
- Group photos
- Student or client images
- Social media content
- Thumbnails for tutorials
- Moderating user-submitted photos
If your main goal is hiding facial identity, you may also want to read our guide on blur face in photo — also powered by BlurMe.
Option B — Manually Pixelate Any Part of an Image
Perfect for anything that isn’t a face.
- Select Custom Blur.
- Switch to Pixelate mode.
- Select the area you want to censor.
- Adjust pixel block intensity.
- Refine edges or expand the area for stronger privacy.
Use this method to:
- Hide phone numbers
- Cover credit card digits
- Block out background people
- Remove sensitive objects
- Censor screenshots
- Pixelate product labels
If you ever need to create a uniform mosaic across several spots, the pixelate images and pixelate photo features in BlurMe will help you maintain consistency across edits.
Step 4 — Export Your Pixelated Image
Click Export to download your edited image at full quality.
Blur vs Pixelation — Which Should You Use?
Both hide details, but they behave differently:
Pixelation (Pixelate an Image)
- Hard censorship
- Obvious blocking
- Useful for compliance or sensitive areas
- Impossible to reverse
- Looks intentional
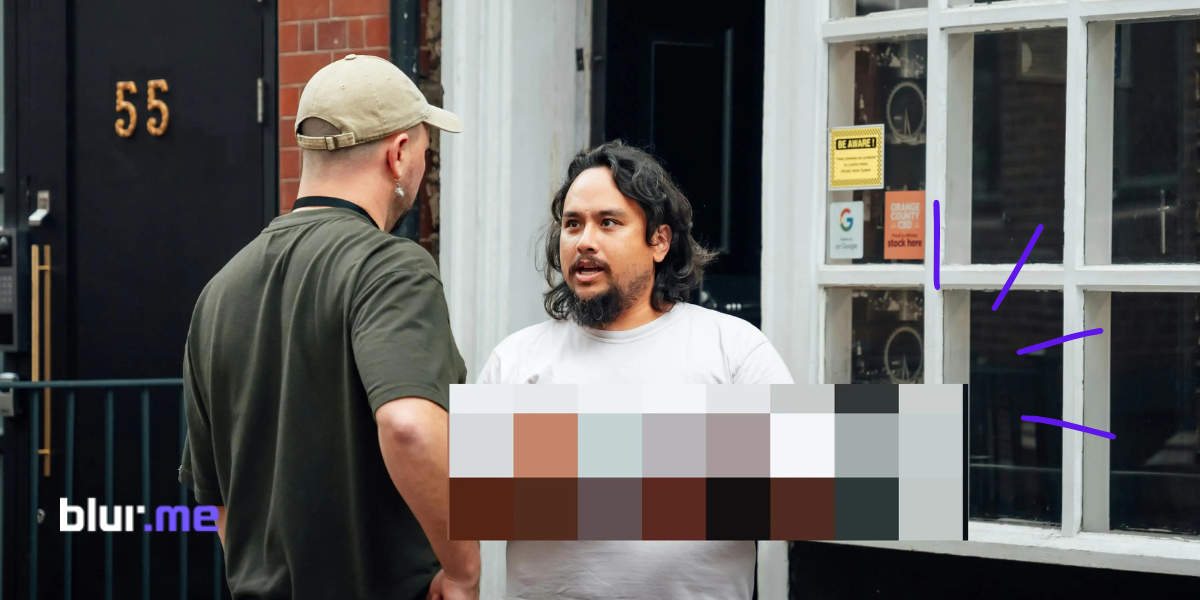
Blur (Blur Part of an Image)
- Soft and natural
- Great for backgrounds
- Best for subtle privacy
- Can blend into lifestyle images
BlurMe supports both and you can switch between them instantly.
Best Practices for Pixelating Parts of a Photo
1. Use Larger Pixel Blocks for Strong Censorship
Bigger squares = better protection.
2. Cover a Slightly Larger Area Than Needed
Always expand the pixelation zone by 10–20%.
3. Match Pixelation Levels Across Multiple Areas
This prevents inconsistent “patchy” edits.
4. Avoid Over-Zooming During Pixelation
Zooming too far in can distort pixel block sizes.
5. Use Blur and Pixelation Together
Example: blur the whole background, pixelate only the sensitive detail.
BlurMe’s flexibility makes this easy.
Real Use Cases for Pixelation
Pixelation is extremely common in audience-facing content:
Creators & Influencers
Pixelate faces or usernames in screenshots, tutorials, and behind-the-scenes photos.
(If you’re looking for a full walkthrough, check “how to pixelate an image” guide.)
Businesses & Corporate Teams
Hide customer information or sensitive internal visuals.
Educators & Schools
Protect minors when sharing photos online.
Journalists & News Agencies
Apply a pixelated censor to identities or private details.
Everyday Users
Pixelate background strangers, license plates, or personal items before sharing online.
BlurMe’s best tools to pixelate faces guide is particularly useful for creators and journalists working with sensitive content.
FAQ — How to Pixelate Part of an Image
1. What’s the easiest way to pixelate part of an image online?
Use BlurMe’s Custom Blur > Pixelate option to brush over any area. It’s the same tool taught in our how to pixelate an image guide.
2. How do I pixelate a face automatically?
Use BlurMe’s AI Blur, which detects faces instantly. Then switch the blur type to pixelation. This is similar to the workflow shown in our pixelate images tutorial.
3. Can I blur instead of pixelate?
Yes. Just switch the blur type to Gaussian Blur instead of pixelation. BlurMe also offers an easy blur image online mode for full-image blurring.
4. How do I censor images online for free?
BlurMe supports free pixelated censoring. Upload your photo, select Pixelate, and export without watermarks.
5. Can I pixelate multiple spots in one picture?
Yes — use Custom Blur to apply pixelation anywhere you want, even across several areas.
6. What’s the difference between pixelating and blurring faces?
Pixelation is stronger and blockier; blurring is softer. If you just want to hide something, see our how to blur something in a picture guide for reference.
No. Pixelation is intentionally irreversible, which is why it’s used for high-privacy edits.
8. What’s a pixelator tool?
An image pixelator (like BlurMe) applies the pixel blur effect to any chosen area of a picture. It’s ideal when you need precise control over which parts are visible.
Conclusion
Pixelating part of an image doesn’t need complicated software or advanced editing skills. With BlurMe’s fully online tools, you can pixelate faces, censor sensitive info, or blur certain parts of a picture in seconds with full control over intensity and placement.
If you’re ready to create clean, professional, privacy-safe images, open BlurMe and try the pixelation tool now. It’s fast, free, and built for creators like you, my love.